

Wrap and tape some 220 grit sandpaper around the BT-101 main body tube.
TIP: Sand the REAR of the fairings first, otherwise the back end will flex and possibly crack.
Sand the rear, from side to side. The overhang lip will get thin and eventually crack off.

Now concentrate on the sides of the fairing.
If the body tube were vertical you'd be sanding up and down.
Go slow - sand a bit and check the edge. Sand as evenly as possible. The sides should also crack off.
A suggestion from Eric Peltzer:
"You definitely need to try to stay as even as possible when doing the sides. On my first try, I didn't realize I was favoring the back end a bit and wore down the back points at an angle.
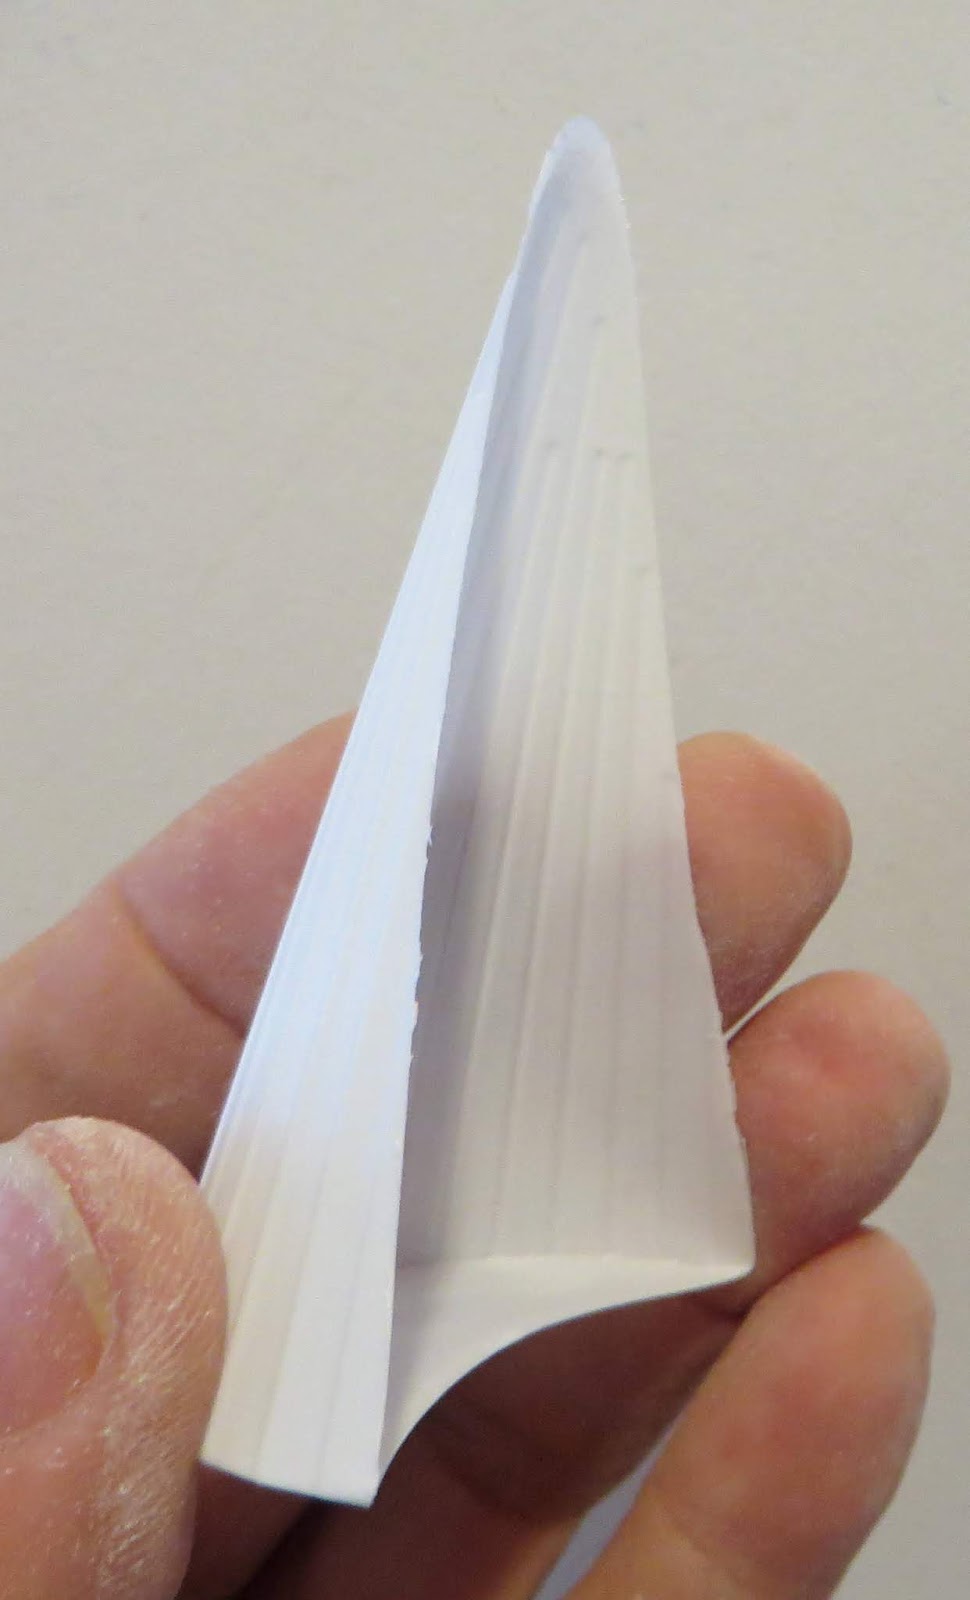
Notice the curve and arc of the sides. This fairing was just fitted as shown above and the edges are still rough.

Take a look at the old Centuri instructions to see a fairing trim guide. The sides of the fairings should have an arc.
To see the Centuri Saturn V instructions: CLICK HERE Scroll down to page 47.
Assembly time so far:
10:10 minutes previous
1:00 minutes this post
11:10 hours total
Couple points I found on this technique
ReplyDeleteYou definitely need to try to stay as even as possible when doing the sides. On my first try, I didn't realize I was favoring the back end a bit and wore down the back points at an angle. Ugh. Luckily, Estes sells the fairings sheet as a replacement part, so I got an extra sheet to get the best fit.
Also, if you have another BT-101 tube laying around, I found it easier to use a longer piece of sandpaper and make slow, longer passes rather than short ones if you already have the wraps on. The longer passes helped me keep the fairing even. When I do this build in the future, if I use the vacu-form fairings, I may cutout/fit the fairings at the beginning of the build when the BT-101 tube is still clean.
Thanks Eric,
DeleteI will add some copy to the post.