
While I wait for glued assemblies to dry I might bounce around the assembly steps.

TIP: I used my sanding block to press the centering rings into the main body coupler. I'm not sanding here, just using the flat block to even up the edges.
Add a glue fillet at the inside joint after the centering ring is even with the edge of the coupler.

TIP: I found it easier to tie the 5" piece of shroud line with the knot on the outside of the ring. After the knot is tied you can feed the knot through the holes into the inside of the assembly.
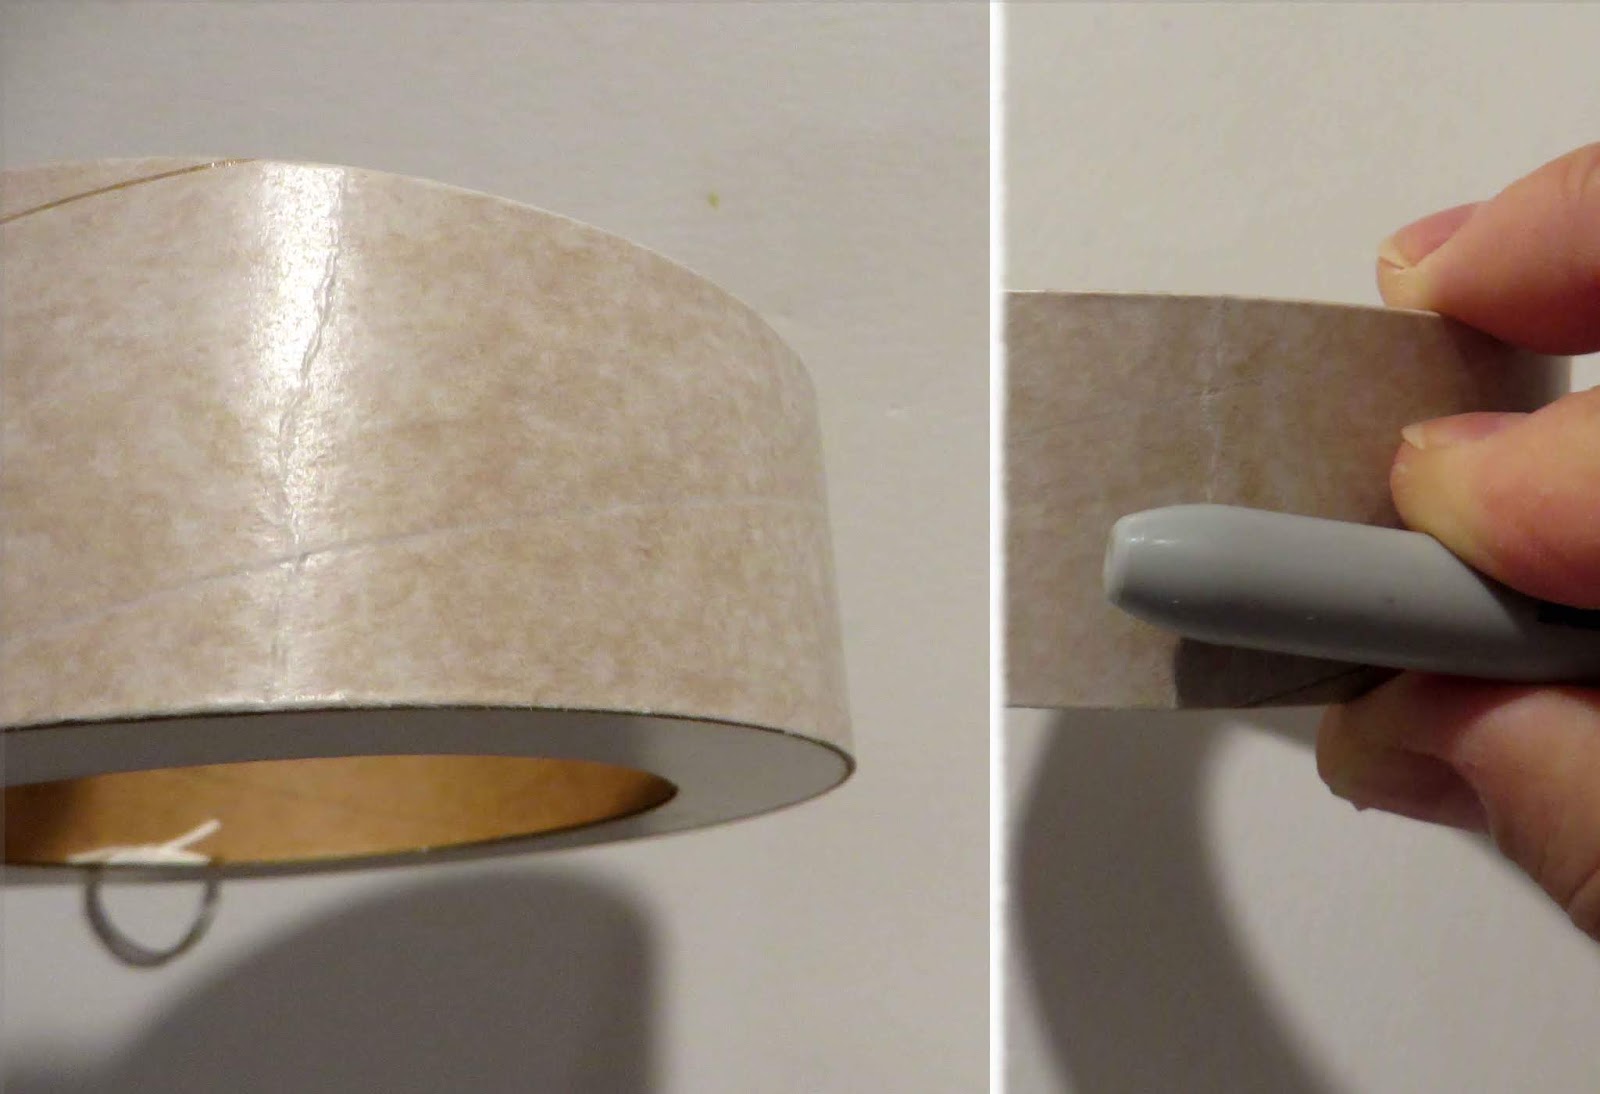
There was a crimp bend in the coupler. I waited to repair it after it was glued onto the rings, thinking it would be forced into a better, rounded shape.
Some medium CA glue was rubbed on with a Q-Tip. While the glue is still wet,roll and burnish over the crease with the smooth back end of a Sharpie.

Line up the string loop with the pencil line already on the tube. Fillet the upper tube/ring joint.

The ring center circle piece is glued on the tube, closing off the bottom end of the assembly.
TIP: I tried to apply the glue ring a little inside of the tube to make an internal fillet.
Assembly time so far:
2:10 minutes previous
1:00 hour this post
3:10 total
On my build which has been adapted to a 29mm motor mount I reinforced the region of string attachment (on the inner portion of the CR) with epoxy. Also added a thin layer of epoxy laminated kevlar of the of internal wall of the coupler tube. Rationale is to support anticipated additional deployment related stresses from 29mm motors and the likelihood of additional nose weight required for other reinforcements of the aft structures.
ReplyDeleteHi Craig,
DeleteI built this on as directed by the instructions - for the most part! If I were to launch it with more than the E30-4 motor I would do some reinforcements like you mentioned..