
The internal fin ribs are laser cut from 1/16" thick basswood. A real improvement over the old Estes kit that included die-cut balsa.
The laser cutting was very clean.
I did some smooth sanding with 400 grit before removing the parts from the sheet.

Each of the eight fins has five internal rib pieces. All of these edges should be cleaned up.
As mentioned many times before, there is a very slight angle left after the vertical laser cuts are made. The hold down tabs should also be sanded smooth.
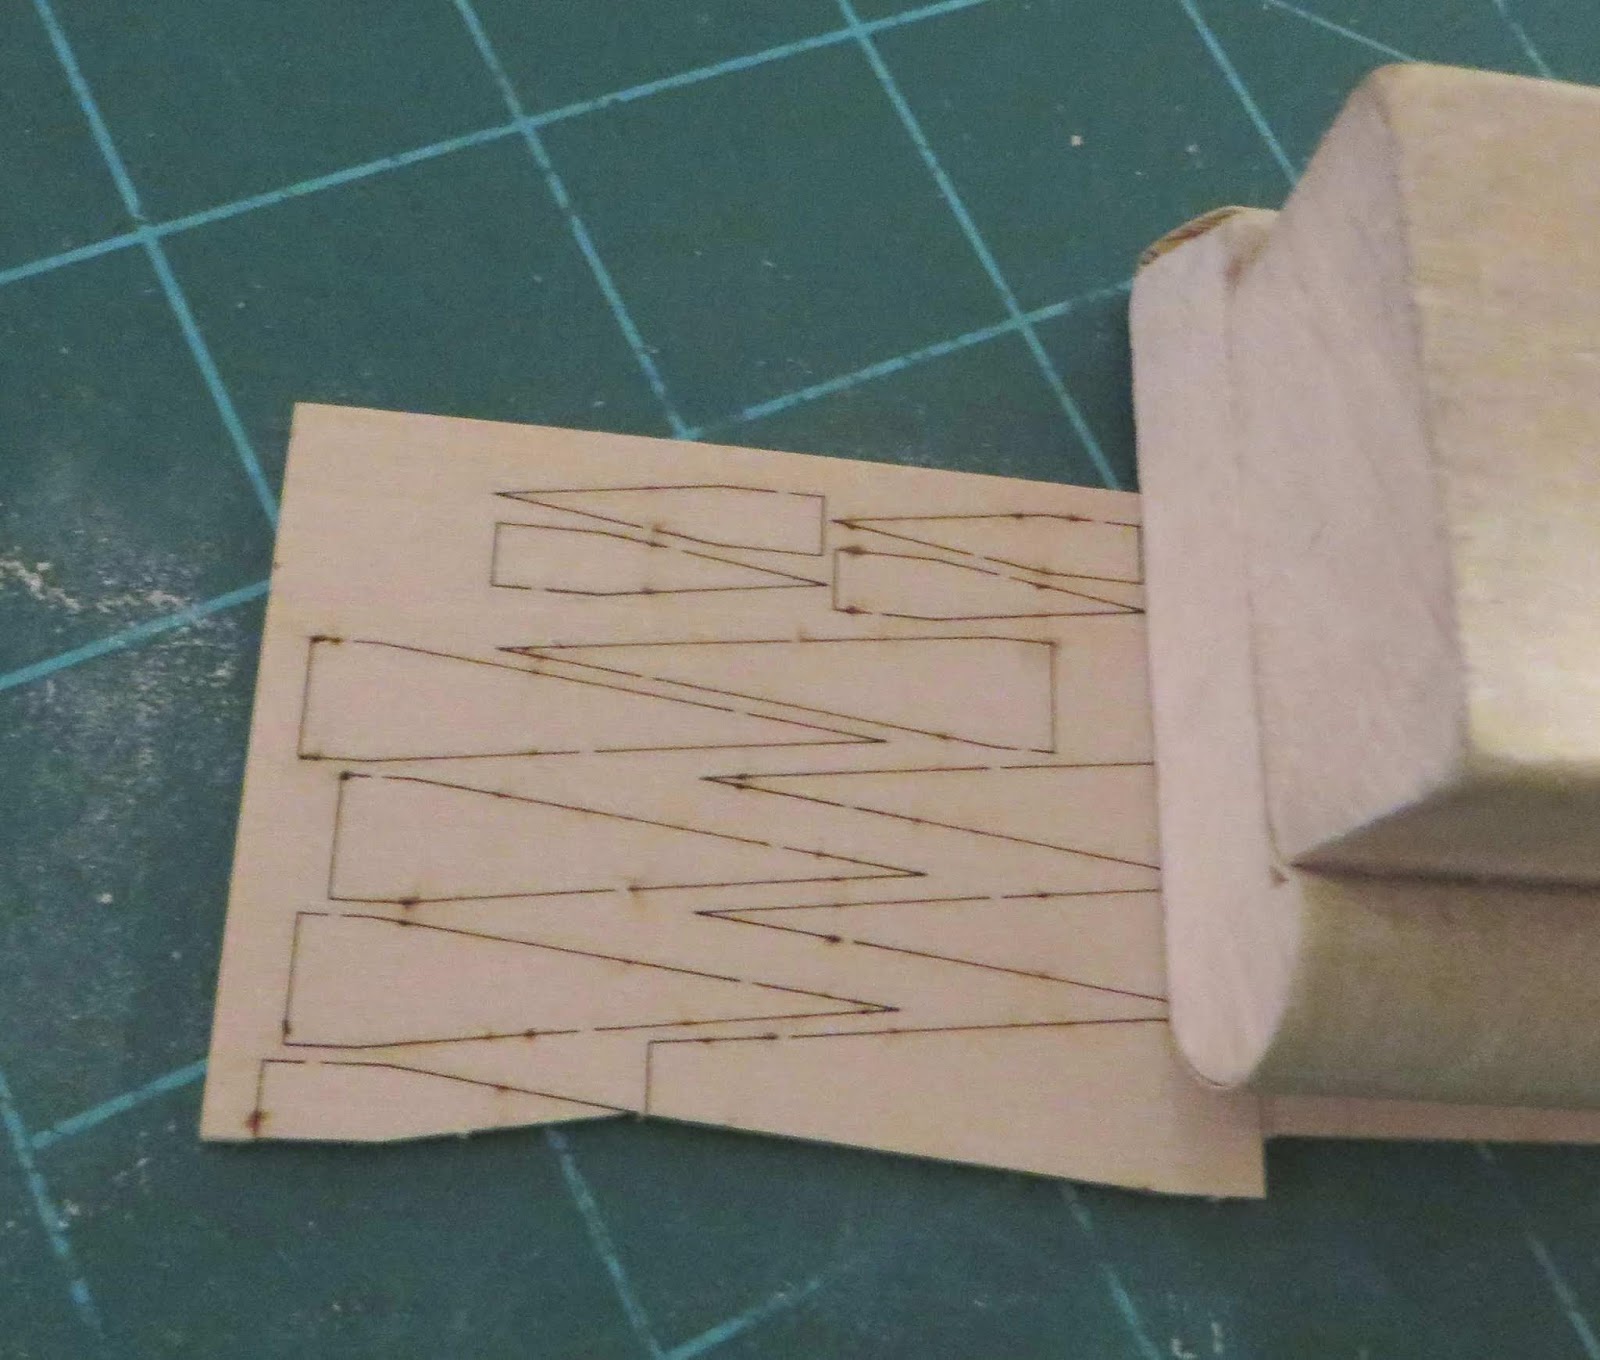
On the left is the before, right off the sheet. On the right is after light sanding with 400 grit on a block.

There is a lot of pieces crammed on the sheet.
There is not much space separating the pieces. You would have never seen these close tolerances on the older die-cut balsa.

TIP: Before cutting out the fin skins, do the trailing edge embossed lines. It's easier to keep the fin skin steady when it is still on the sheet.
Notice I extended the crease line with pencil.

TIP: If you emboss the line over a cardboard sheet, be sure the corrugations are in line with the crease line.
I used a smooth butter knife to make the crease lines. The tip of my butter knife has no serrations.
Practice first on the empty sides of the card stock sheet before scoring the actual fins.
Build time this post: 1 hour, 00 minutes
Total build time so far: 25 hours, 25 minutes
Chris,
ReplyDeleteI finally tried your method of filling seams on a plastic nose cone. Even bought the cheap CA at the Dollar Store. Sanded with 400 grit after a few hours, then shot with primer. So much easier than my past method, using Bondo Spot Putty, which I always put on with a smear using a gloved finger. It works, but requires WAY too much sanding.
Hi Lee,
DeleteYou might find it easier to knock down that bead of CA (on the seam) with 220 grit first, then switch to 400 to smooth it out. Medium CA glue is really hard!
I'm glad the seam fill technique worked for you!
Thanks Chris, I’ll try starting with 220 grit. I could have sworn you only used 400. I did set a timer to remind me to sand after a few hours, rather than letting it sit overnight! Memory fades in one’s advancing years isn’t so bad. Every day you discover something new, even if it isn’t. :)
ReplyDeleteLee,
DeleteGo light with the 220 grit. I use the 220 grit made for my Great Planes Easy Sander. Their 220 is a bit finer than what you might get at Home Depot. Aim for the CA bead of glue, don't sand into the nose cone plastic.