
I wish vendors would print shrouds with "Shroud #1" or "Shroud #2" outside the part border area. Paint may not always cover up the black ink.
It's tougher to line up the glue tab, you'll have to transfer the tab edge line to the other side.
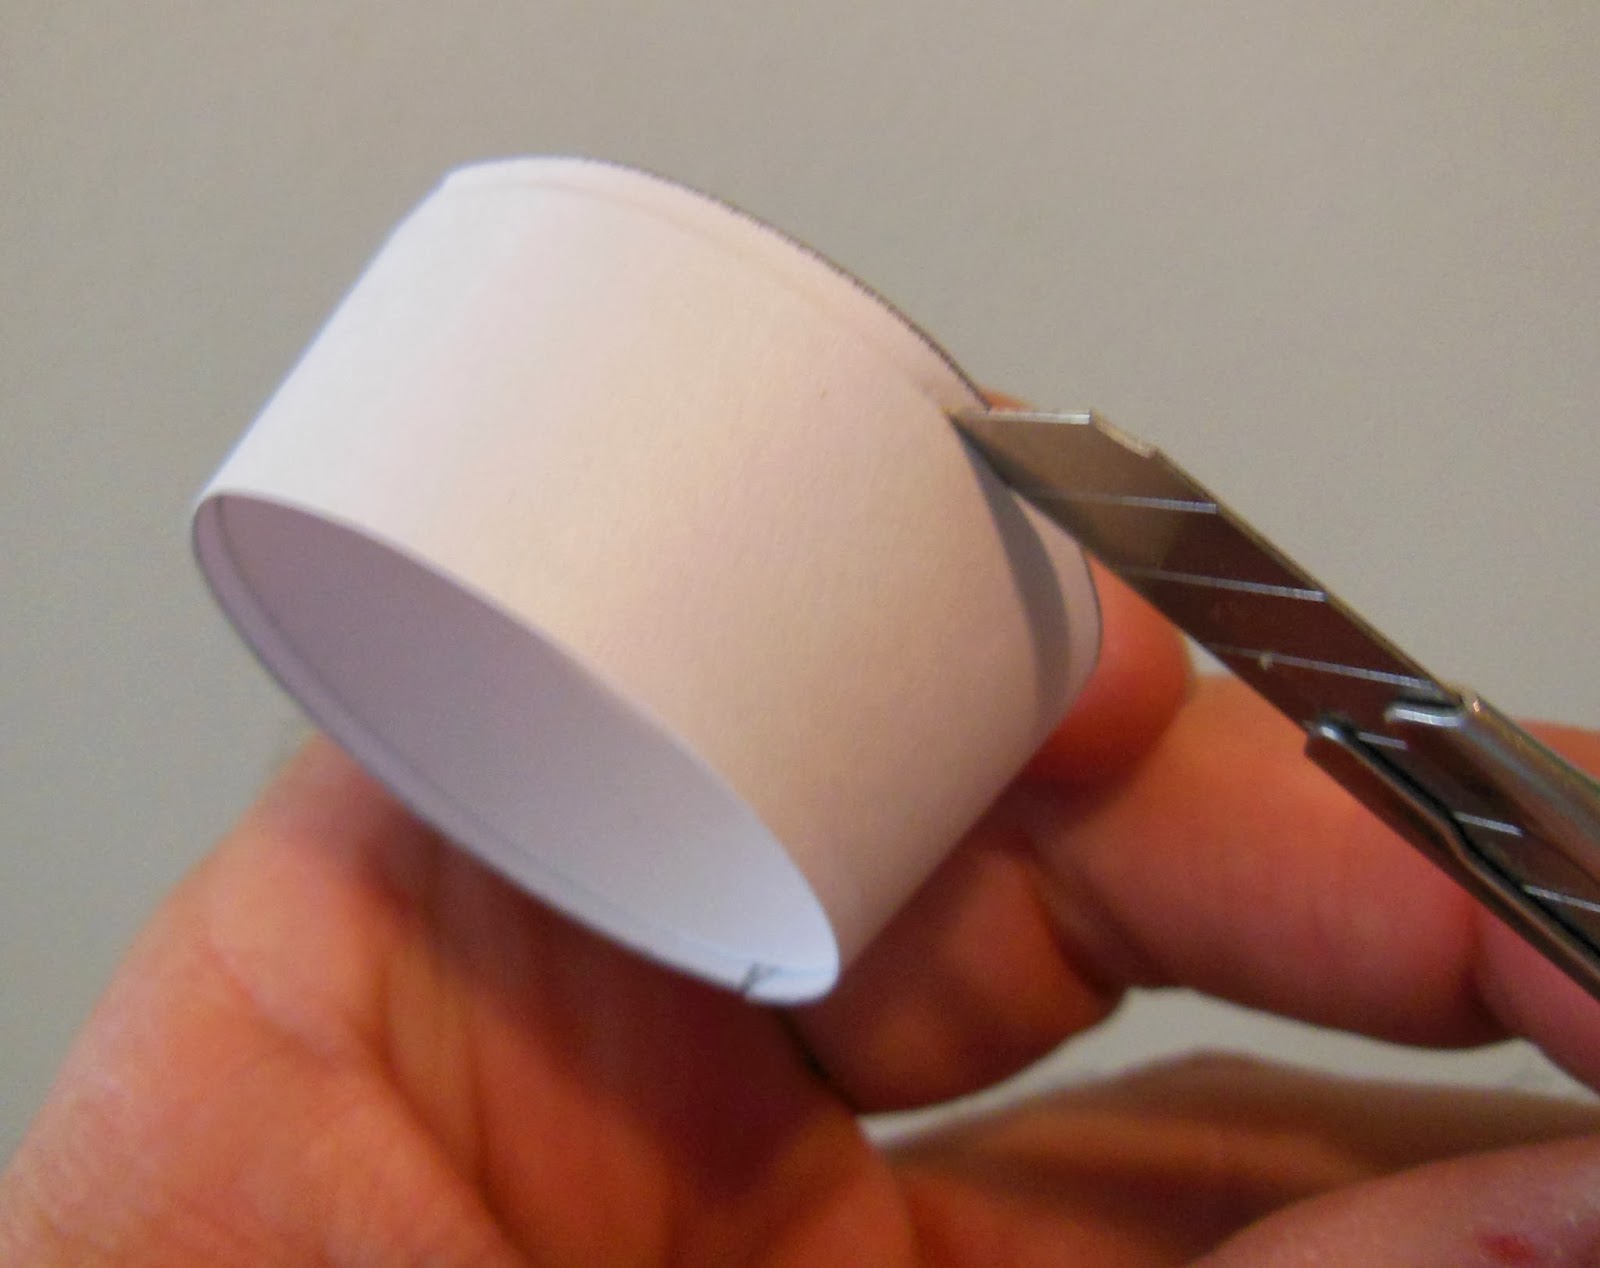
On the left: The interior (nested) shroud overlap is cut off with a sharp knife.

The instructions recommend cutting the engine hook notch after the shroud is formed, a good idea.
I took one of the extra shrouds and marked the notch location.

The inside round cut was punched with the rotary punch.
The straight sides were cut with scissors.

The interior shroud goes over the engine mount tube from the bottom.
This could be hard if the small end of the shroud is too narrow.
If it's too tight, flare the narrow end a bit wider by rolling a dowel around the edge.
No comments:
Post a Comment