Before I get too far on masking, remember -
You'll never get a clean masking line and color separation if the surface under the mask isn't smooth! Preparing the surface (smooth fillets, filling seams and balsa then priming and sanding) will give the best results.
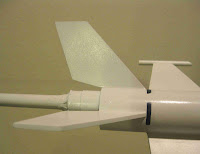
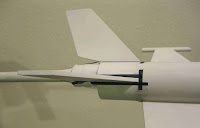
This Quest Escort has already had the white undercoat applied.
When using clear Scotch tape it's hard to see the tape edge.
I set the tape on glass (my patio door glass) and mark a wide line down the length of the tape with a Sharpie pen. My metal straight edge is set down the middle of the line and a new edge is cut. This cut bisects the width of the pen line and gives me a clean, new edge. Sometimes the sides of a sticky tape roll can pick up dirt and dust.

This picture shows the take set down on the square front of the leading edge. You can see how the black pen helps to visually position it.

Marked tape strips are set down both sides of the leading edge.

Masking tape is used to fill in the areas between the Scotch tape edge masks.
Notice the pointed dowel. I use the sharpened dowel to press and seal the Scotch tape masked edges.
The sharp dowel tip is lightly rounded with sandpaper so nothing gets scratched.
TIP: Before setting the masking tape (note I said masking tape, not the clear Scotch tape. Scotch tape is used as sticky as it comes off the roll) I press it on my jeans pant leg and remove a few times. This picks up some jean fibers on the tape and reduces it's adhesion. You'll have less chance of lifting up base coat paint when the tape is less sticky.

No comments:
Post a Comment