
http://www.rocketryonline.com/jimball/jimball/construction/pup/default.htm

The "silver" bands on the home made decals were drawn a little long on purpose.
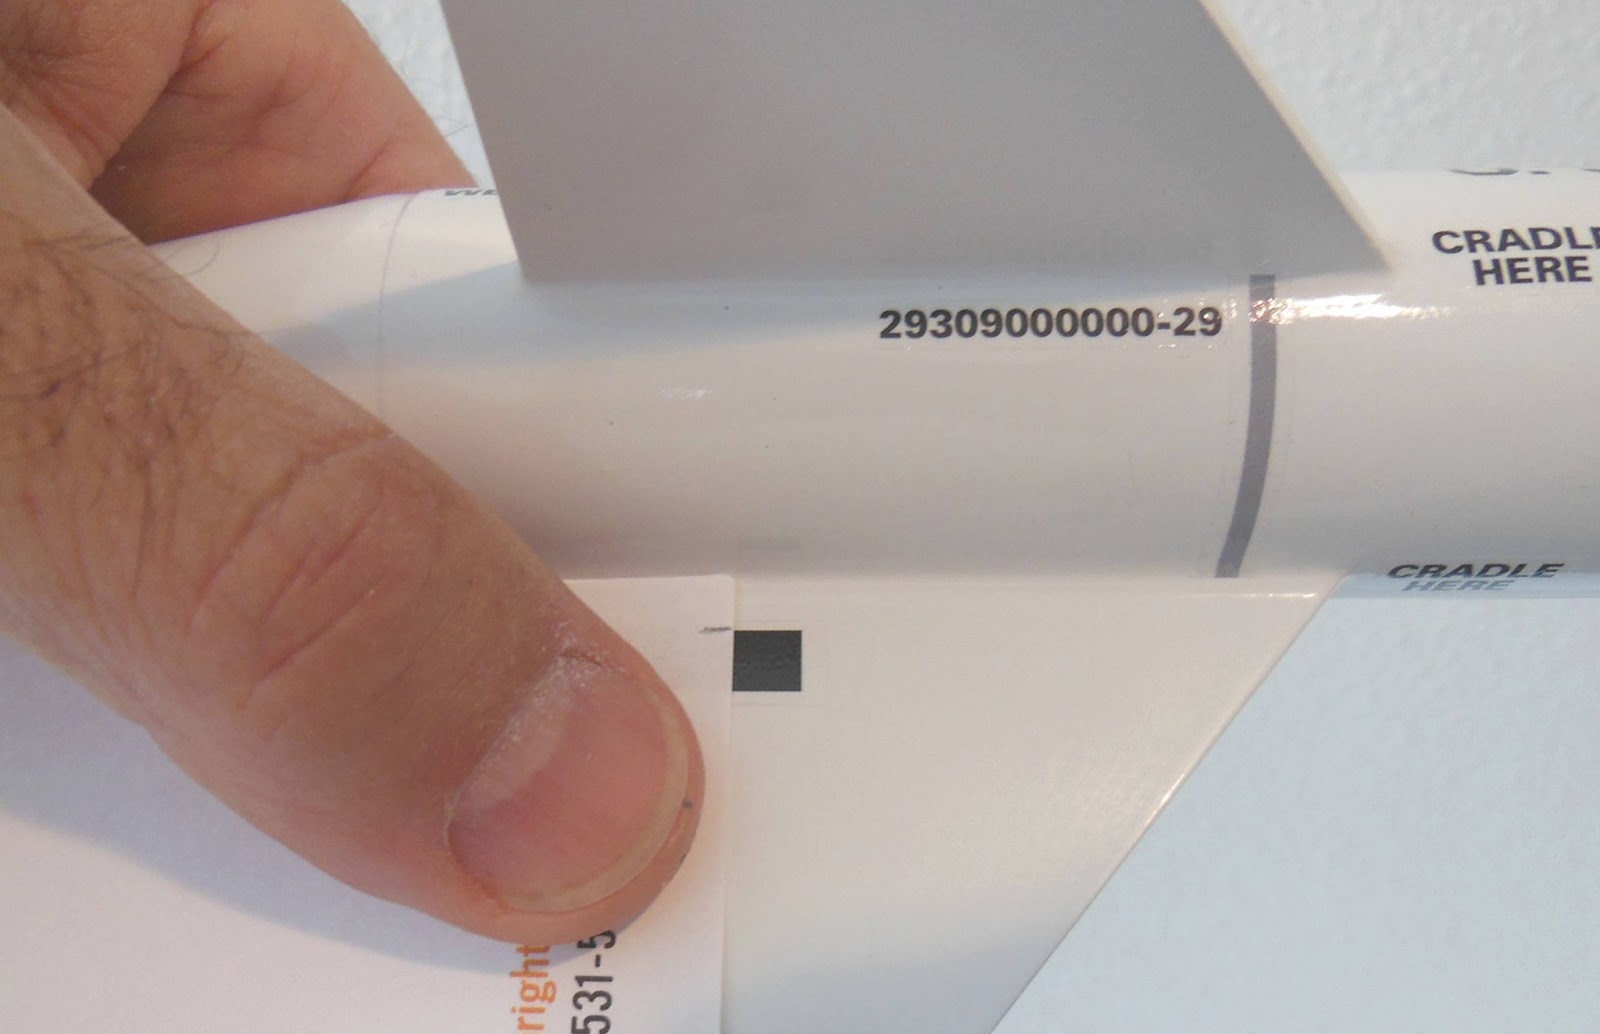
To help line these up, look over the leading edge.
These will be trimmed up (shown in picture three) after they are dried a bit and are better adhered.

A paper strip was wrapped around the tube to help line up the "Cradle Here" decals. All are at the same distance from the leading edge tip.

Now that the silver strips have set up they can be trimmed to the root edge joint. You'll need to let these dry and adhere better before trimming.
Use a new blade and lightly cut just the decal skin.
If done correctly you won't see the cut line.
Those eight black bars go to the trailing edges of the fins.
I used another paper strip with a pencil tick mark to be sure they were all the same distance from the root edge.

After trimming off the clear edge with a razor blade the edge was a little rough.
TIP: I used a red Sharpie to run the red color under the shoulder lip. Now when the nose cone is in place no white or grey primer will show at the top off the body tube.
This doesn't always work, the permanent marker may not match the decal color. Black marker is always a good match. Other colors, not so much.
No comments:
Post a Comment