
Allowances are made for the engine hook movement. It would be hard to slide the nozzle (shroud) and centering ring over the tape wrap.
2. Notch the tube and set the front end of the hook in the notch.
3. Glue the smaller white centering ring over the end of the tube, the tube should stick out about 1/32" to allow a fillet at the joint. Fillet the joint and let dry.
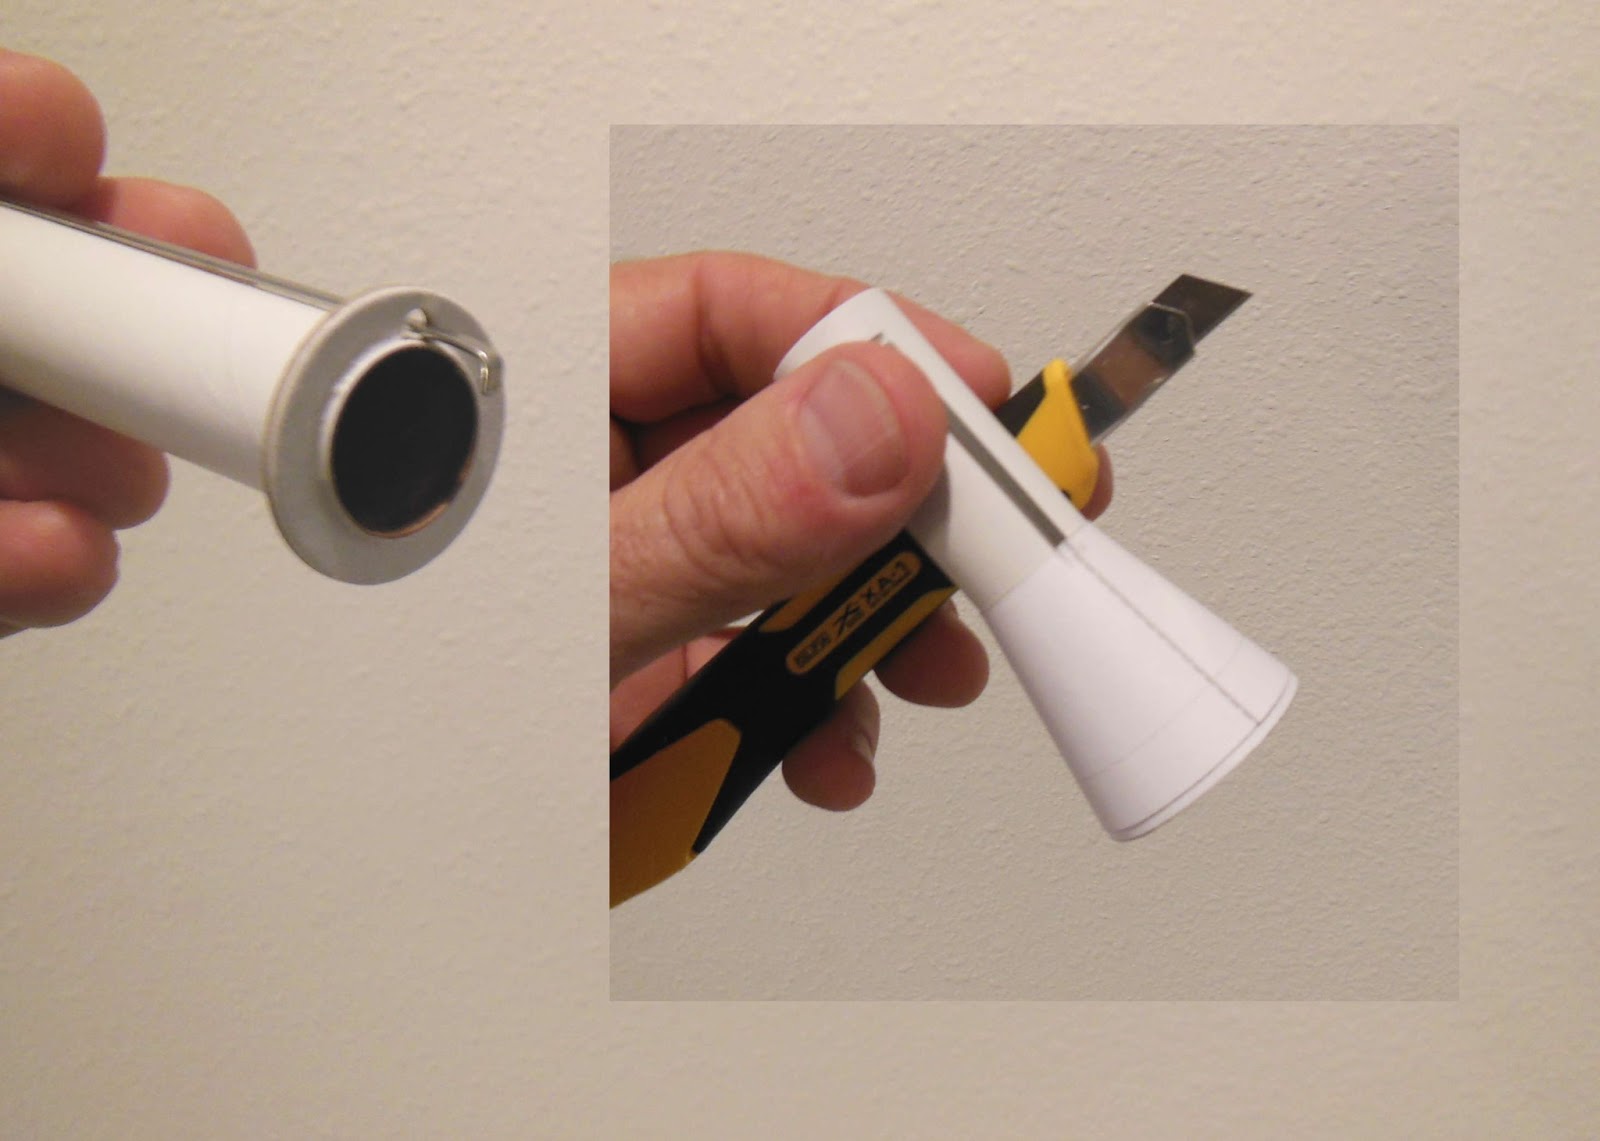
4. Slide the shroud (no glue yet) from the top down onto the centering ring. Seat the shroud seam over the engine hook. For a better fit, I cut a small line on either side of the hook on the small side of the shroud.

6. Slide the lower ring (single larger notch) down from the top and against the top of the shroud. Center the notch over the engine hook.
7. Slide the upper ring down from the top with the small recess over the top off the engine hook. The instructions say to slide the upper ring 1/2" from the top. I stopped the upper ring at 5/16" from the top. This spreads out the span of the rings a bit and still locks the upper end of the engine hook. Fillet the rings and engine mount tube.
8. With the two rings in place you can now center the tape wrap between them.
9. Thread the Kevlar line under the upper ring through the small notch. Tie the Kevlar and press the loop against the glue fillet at the base of the upper ring.
No comments:
Post a Comment