

The plastic tail cone is used to push the engine mount to the correct distance inside the body tube.
Continue pushing the plastic tail cone until the shoulder seats against the body tube and remove it.

From the top, I used a rounded end dowel to smooth out and remove excess glue from the fillet on the upper centering ring.
 Before gluing the tail cone in place slide it in dry with no glue.
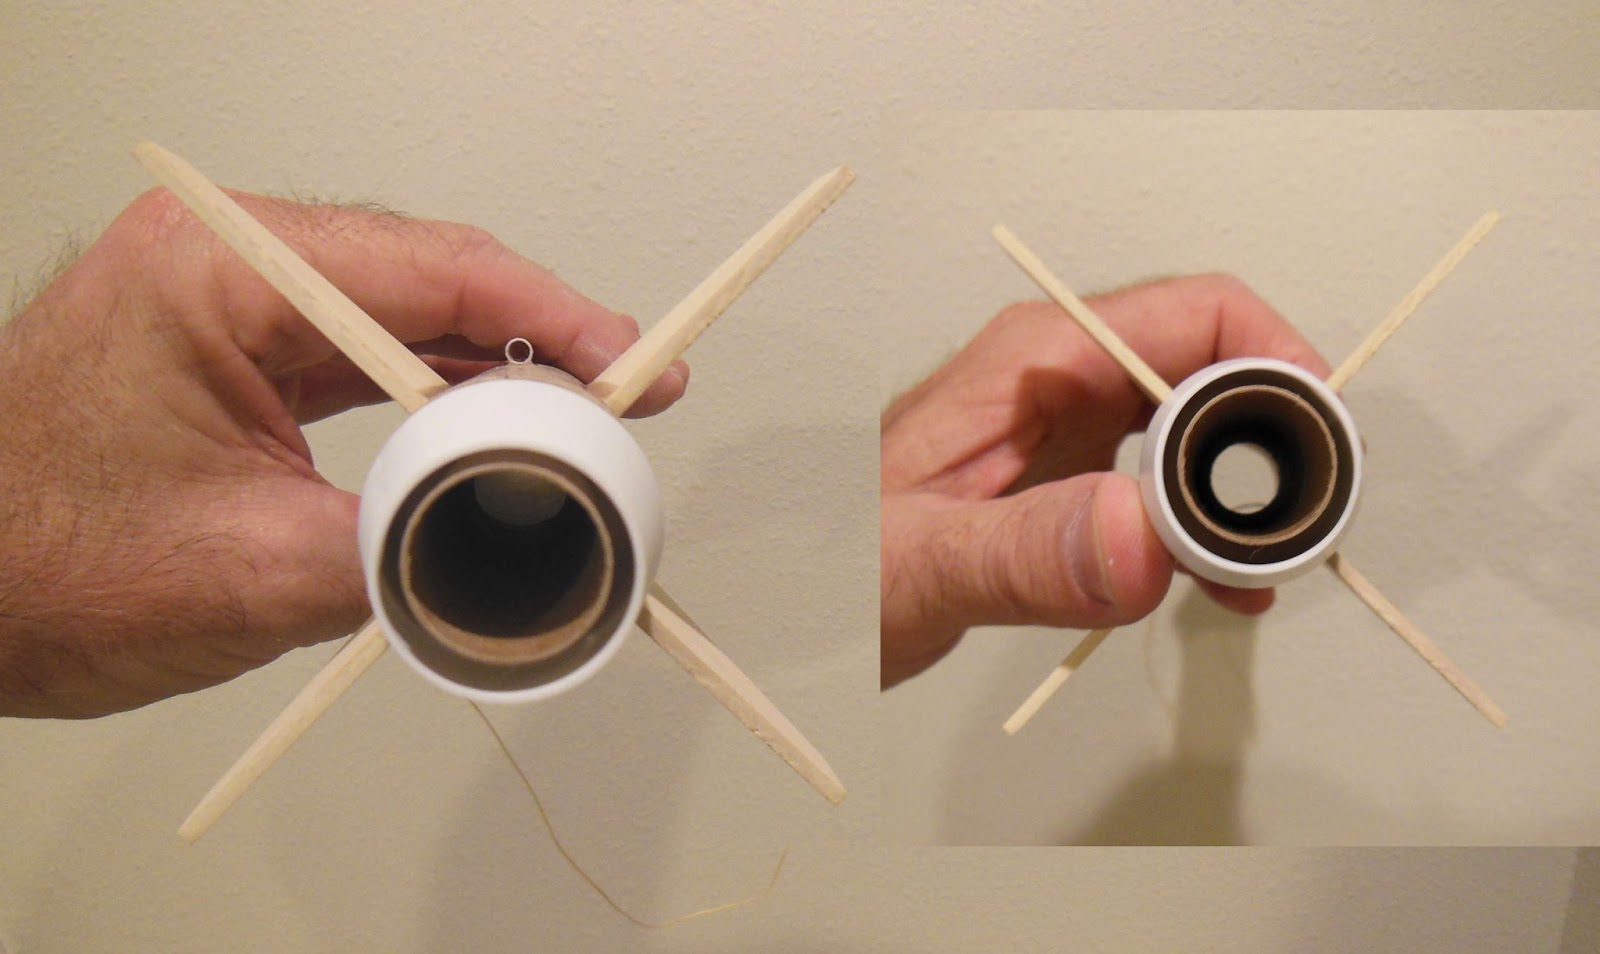
Rotate the tail cone until it it evenly centered around the engine mount tube. Left pic is before, inset pic is rotated and centered.
After finding the center, mark the tail cone and body tube with an pencil.
After applying glue, rotate the tail cone to the center mark.
 Look at the instruction illustration at the top:
The instructions direct you to apply plastic cement to the shoulder of the tail cone. If you do this, you'll have glue squeeze out the back when you push the tail cone in the tube.
You'll be best off using a line of epoxy in the back of the body tube. This way the glue is pushed forward inside the tube.
Turn the tail cone to the center marks from the last step.
No comments:
Post a Comment