

You are advised to mark the rings - A good idea.
I didn't pack a ruler broken down into hundredths.
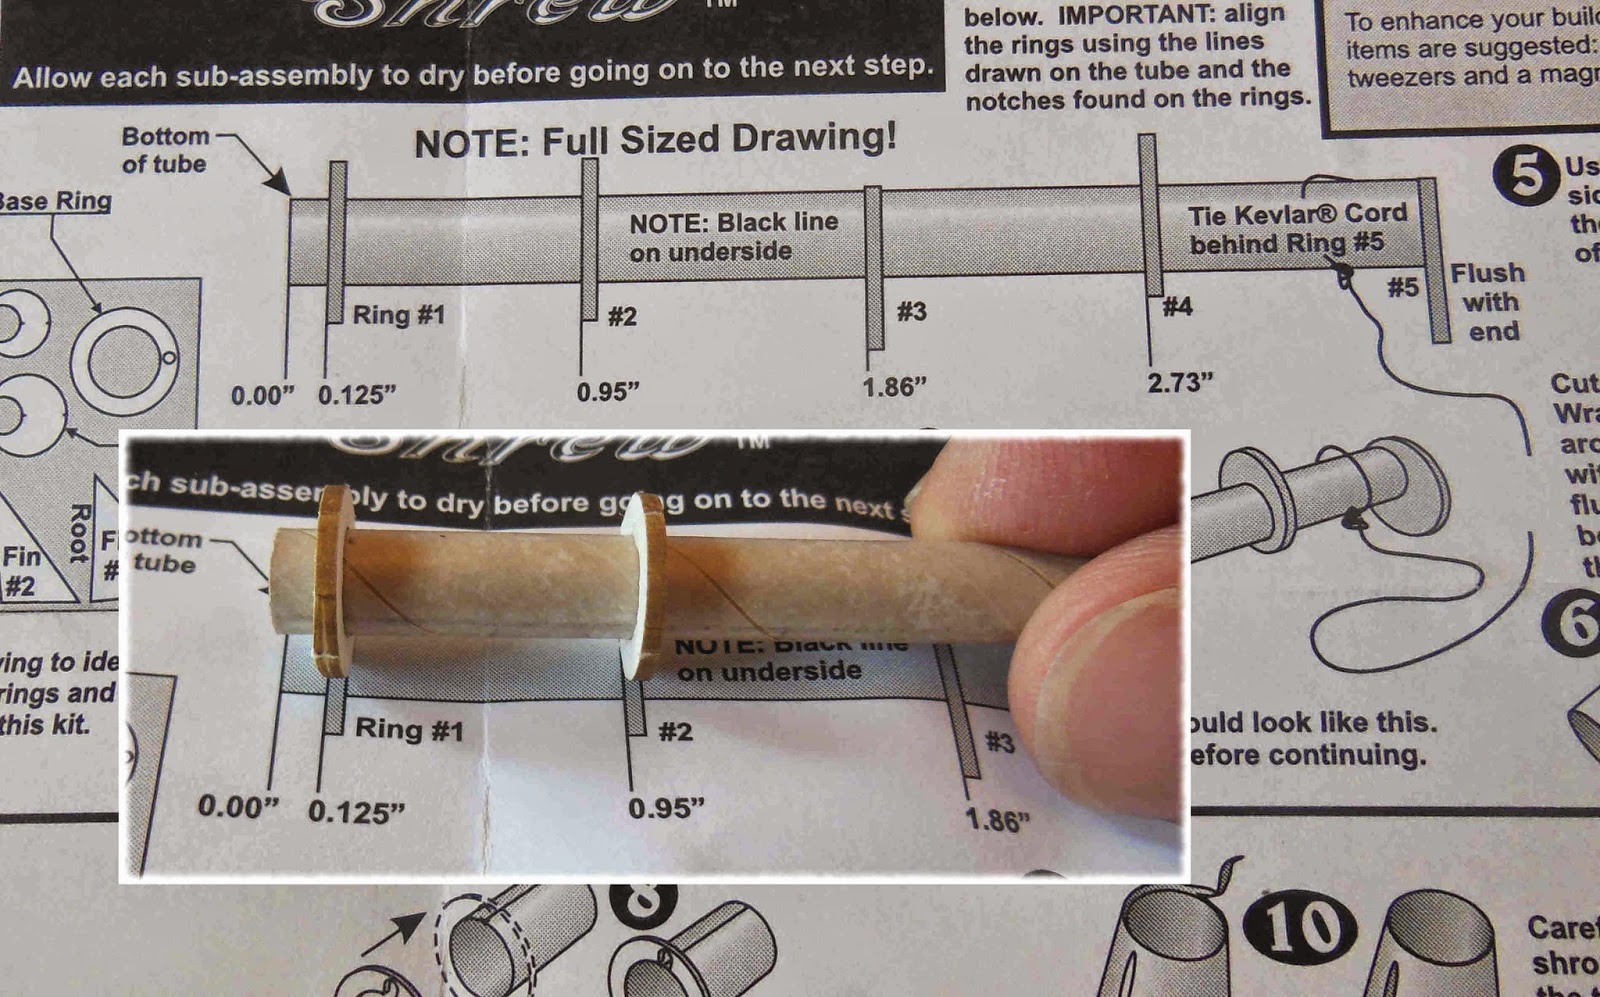
The instruction drawing is full size and a better reference over pencil markings anyway.
Set the tube and rings over the drawing for gluing.

I trimmed a coffee stirring stick to a point and used that to apply small dots of glue to the ring tube joint.
The excess glue was smoothed out with a Q-tip.
I only used three small dots of glue and let that dry. The small glue dots will allow for any re-positioning before the real, full fillets are applied.

The rear rings #1 and #2 were glued on first. They are the only "centered" rings. I did this to practice first on the easiest rings before taking on the offset rings, 3, 4, an 5.
Ring 1 was starting to split.
The split was slightly widened with a knife blade to allow glue to get in.
Glue was pressed in with the knife and tweezers squeezed the gap shut.

The inset picture shows the top view.
I looked down the tic cuts at the top of the rings to line them up.
The fit and alignment are critical for the tube segments added later.
Take extra time to be sure everything is straight and placed correctly.
No comments:
Post a Comment