

TIP: It is helpful to mark the piece names with pencil before removing them from the sheet. Use the parts illustration in the instructions for reference.
The laser cuts are very clean and all the way through the balsa sheet.
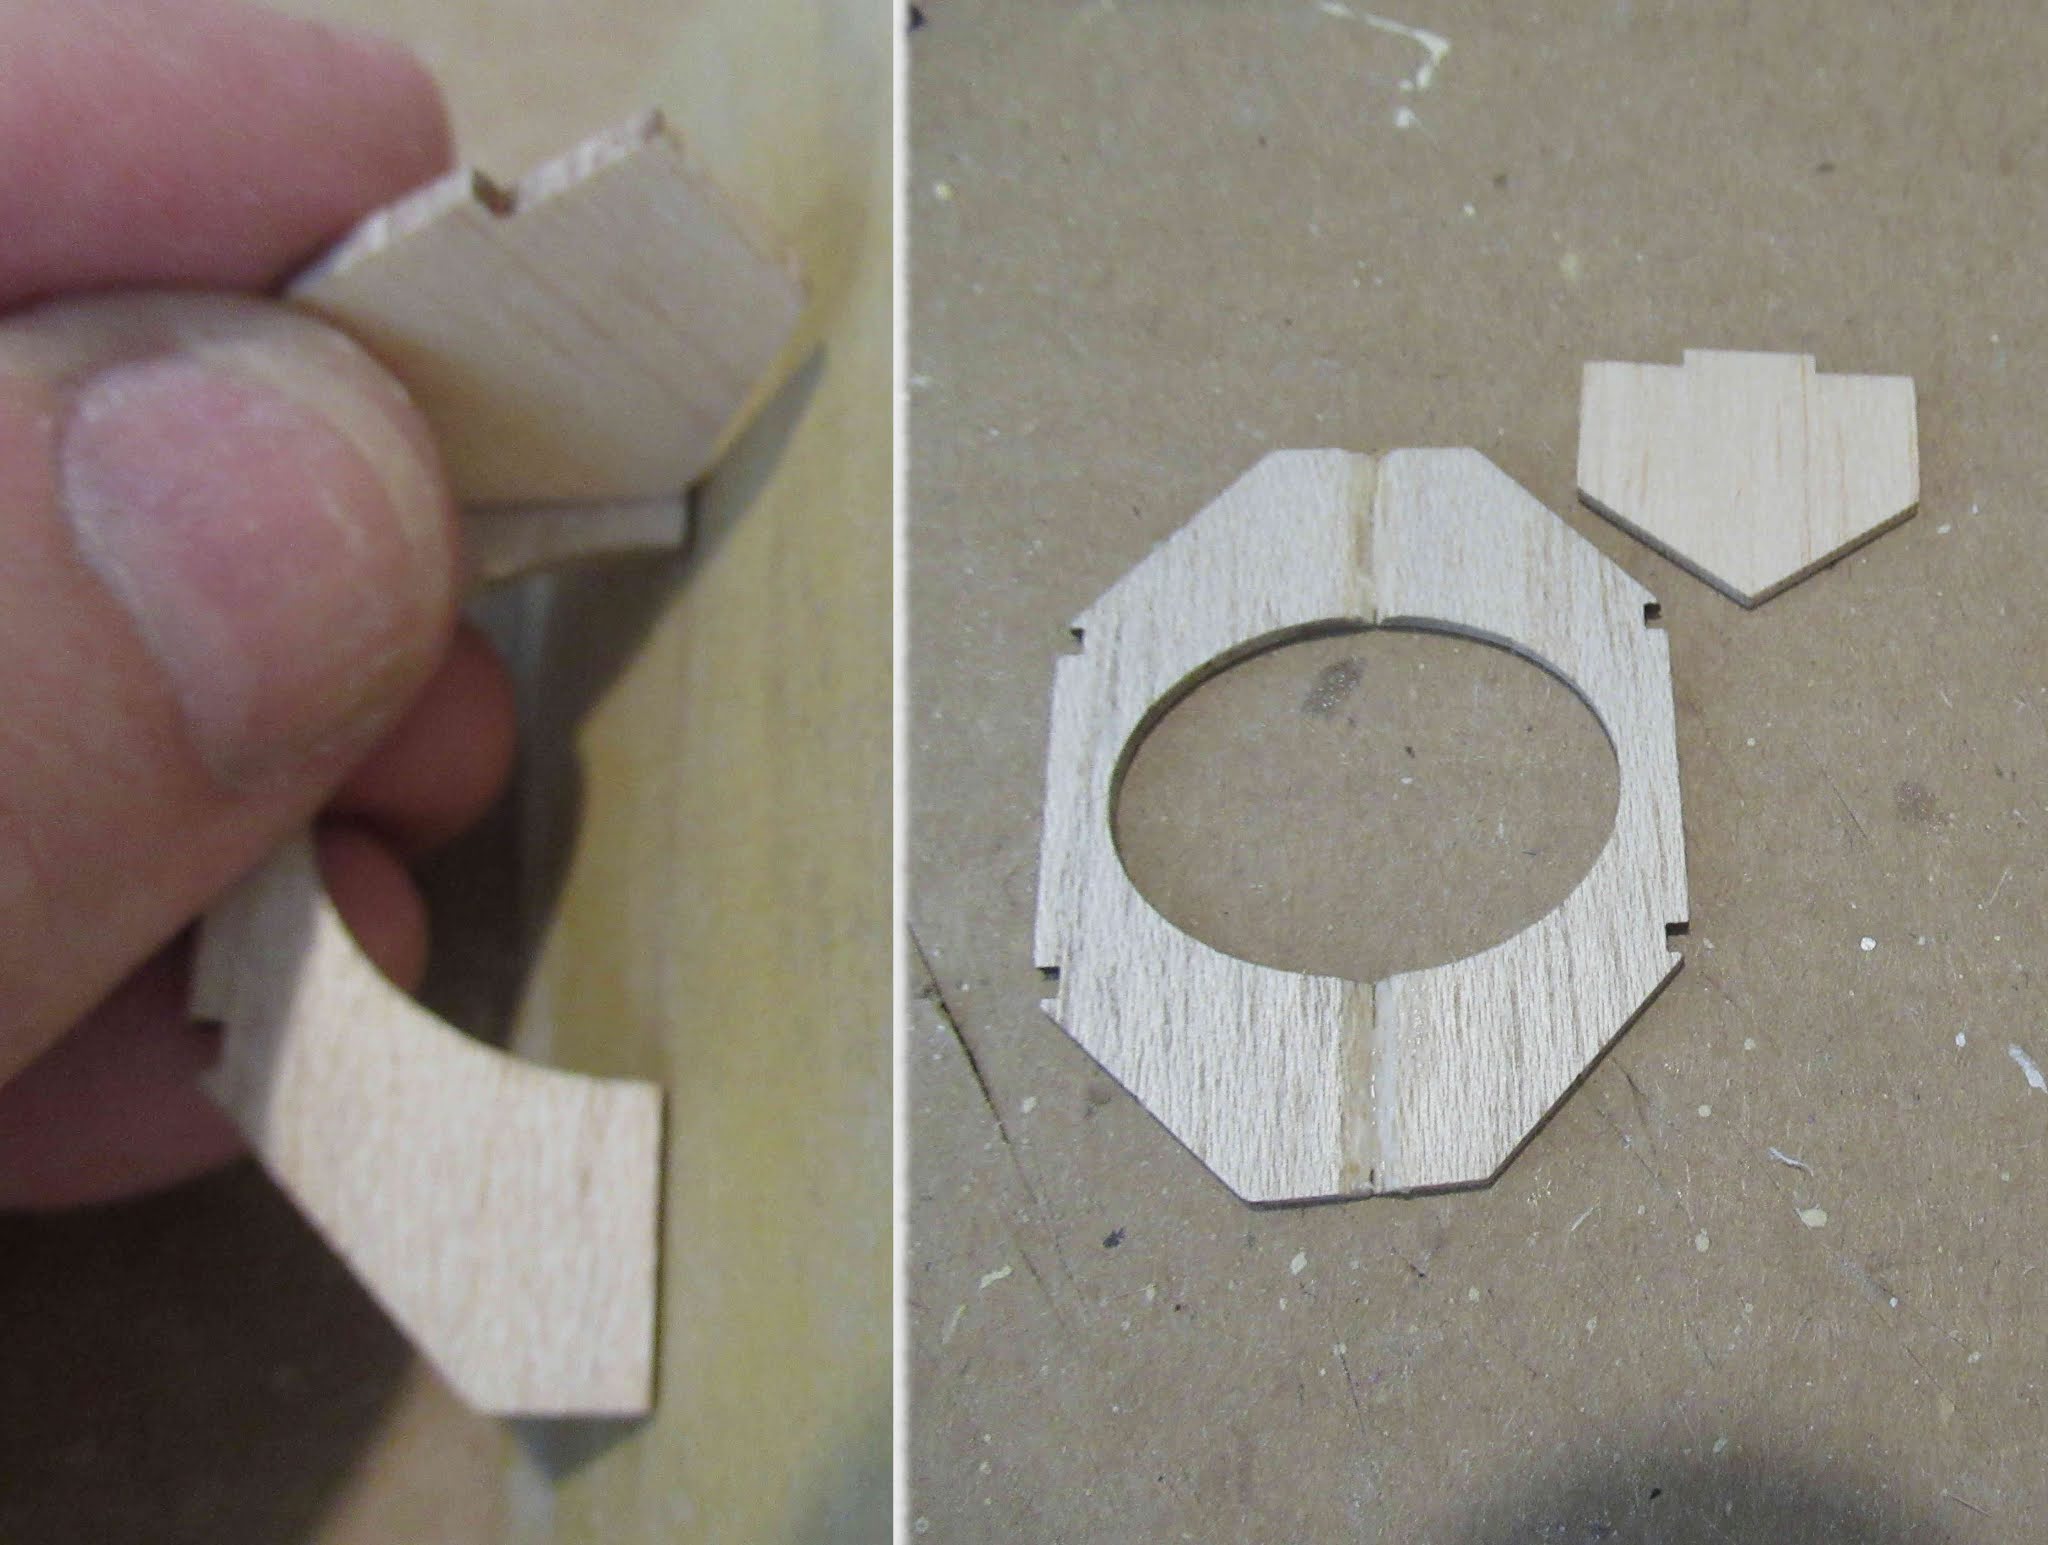
The structural pieces are freed up from the balsa sheets with a knife, cutting through the hold down tics.

The interior bulwark pieces have a slight curve on the outside.
Part "N" is shown here
I smoothed the curved sides using some sandpaper wrapped around a used engine casing. The straight sides were cleaned up with a sanding block with 400 grit.
The end pieces have and angle sanded into them to match the to of the "U" support pieces shown on the right side. Part "O" shown here.
TIP: After sanding the angle with a sanding block, you might find it easier to glue the pieces together with a small amount of glue. After the glue dries you can bend the joint like a "hinge" fitting over the U support pieces.

More glue is added to the center joint and is bent down over the top of the "U" piece. I'm not gluing the end piece onto the U piece yet. The tape is holding the hinge angle shape while the glue dries.
No comments:
Post a Comment