

TIP: Where you can, when forming a shroud, turn all print ink to the inside. The ink could still show through if the models final paint color is light.
The glue tab line was marked with a pencil.
The card stock is slick - the gloss on the glue tab was sanded with some 400 grit.

I don't know how a shroud like this is drawn up. It is very complex and fits over the angled back end well.

No glue yet -
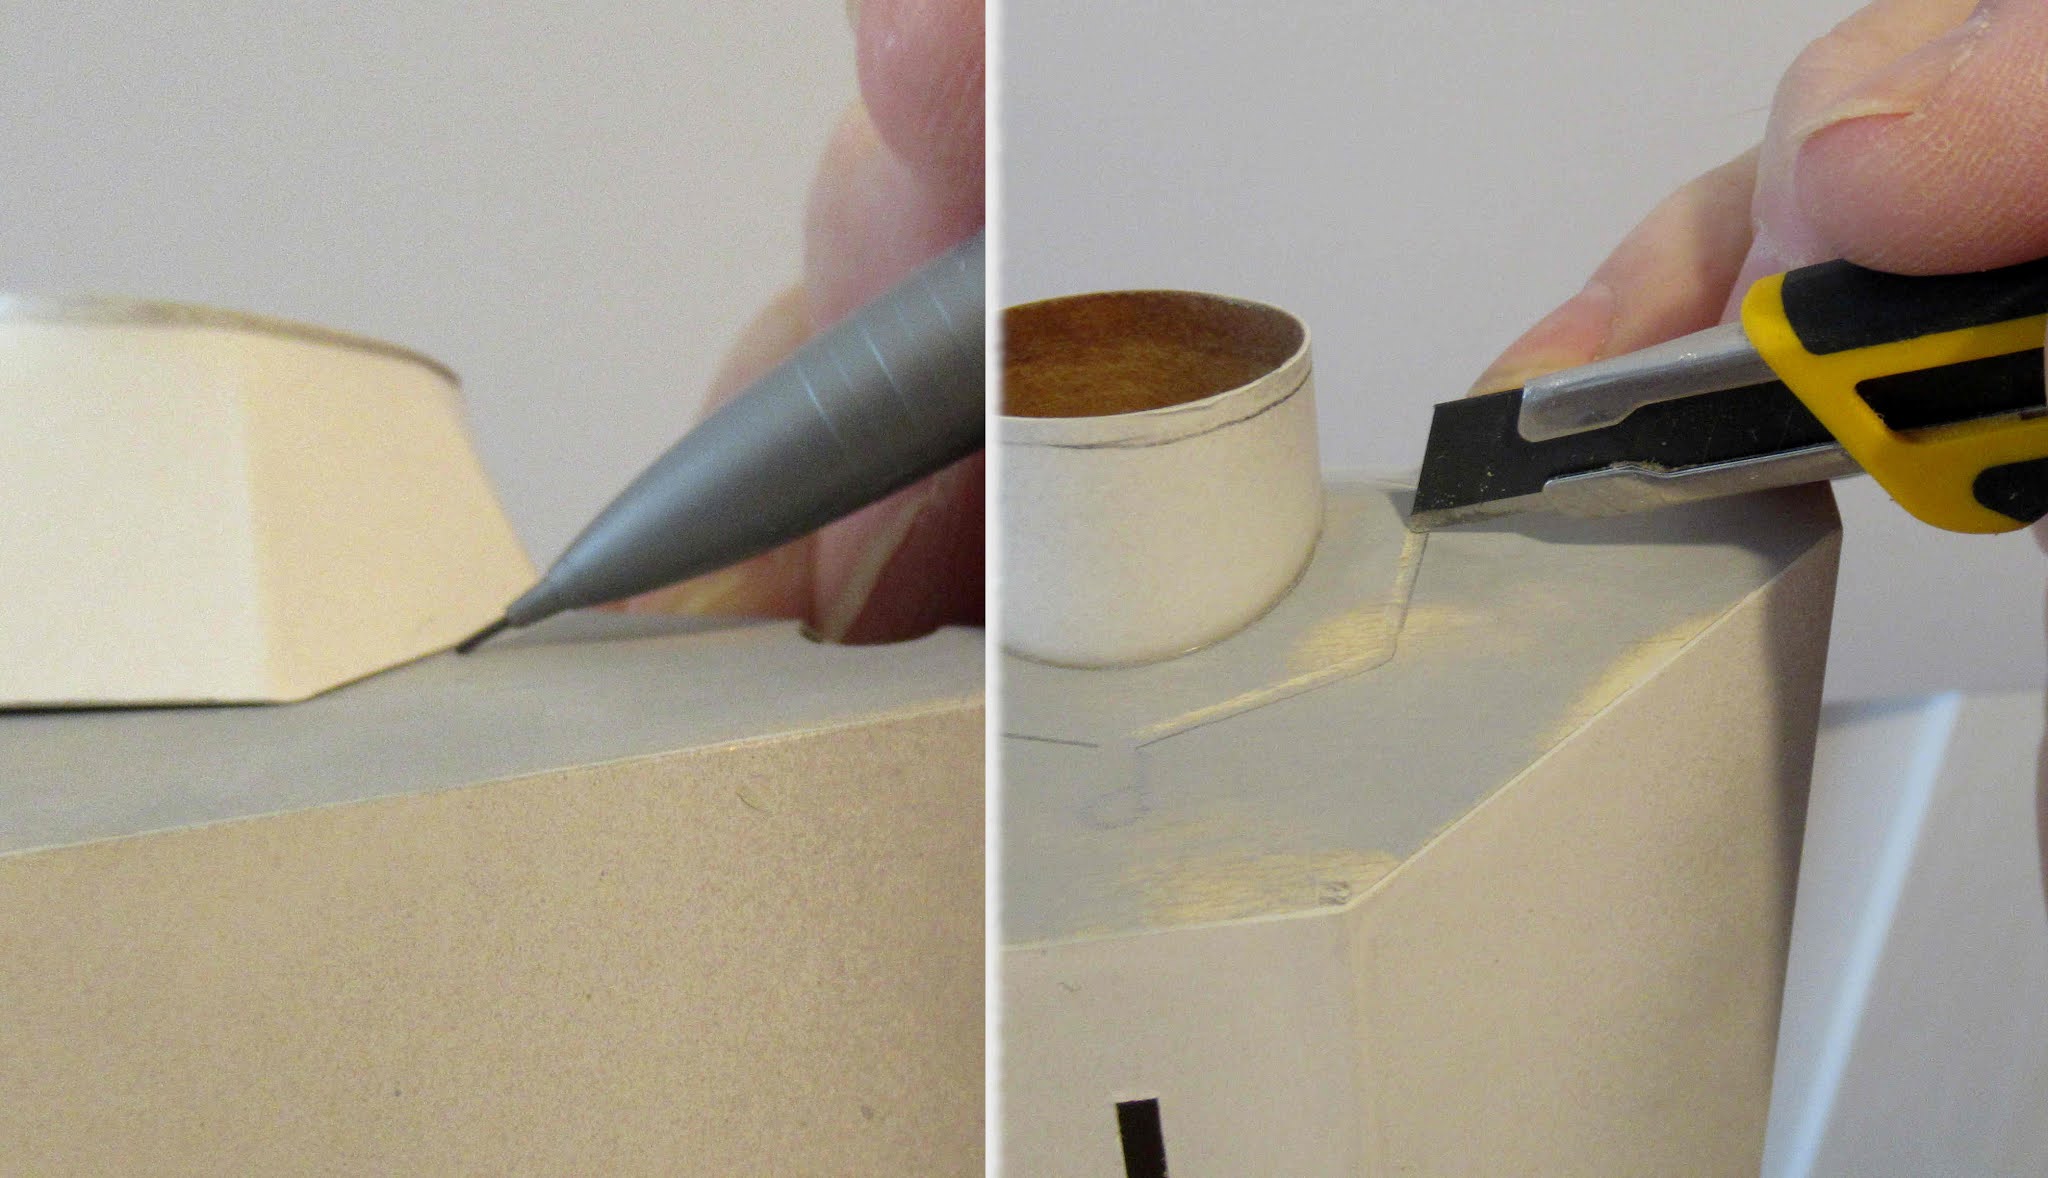
I traced around the sides to find a glue line.
The filler/primer was scraped inside the pencil line where the glue would make contact.

I made sure the tail shroud tab seam was on the bottom of the model, the same side as the internal BB braces glued on earlier.
As for how to draw up the shroud - have you taken a look on textbooks on drafting and mechanical drawing? Most useful would be chapters covering developments and sheet metal design. There's also a similar sort of problem when it comes to clothing -- how does one arrive at 3-D form of clothing that is made up of pieces that are cut from a flat sheet material.
ReplyDeletehttp://www.survivorlibrary.com/library/a_textbook_on_sheet-metal_pattern_drafting_volume_2_1901.pdf
Hi Naoto,
DeleteI appreciate the link but I don't get too fancy with shrouds. This one was eight sided and angled to fit the back of the model.
Occasionally I'll got to payloadbay.com, plug in the diameters and print out a shroud. This one was pretty involoved.
The link can answer quite a few questions one might have on stuff that might be of interest to model rocketeers. things like:
Delete* How to create oblique or "tilted" cones (like the nosecones you see on strap-on booster rockets)
* how to draw up cutting pattern for tubes cut at an angle (nice for "swept" tube-fins).
* how to draw up pattern for the "scalloped" shroud at the base of the Saturn 1B where.
* how to draw up cutting pattern for tubes that intersect at various angles.
* how you could replicate the "aerosrhoud" on models like the Centuri X-24, Centuri Vulcan, or Quest DC-Y.
note that the methodology given in that reference is purely "analog" -- i.e. done on pencil and paper with tools such as compass, dividers and a straightedge rather than on the computer. There were some aticles in the Apogee newsletter that used the same techniques adapted to working on the computer.