

This was a pre-production kit so some changes may have been made. I had to make some adjustments for the fin tabs to fit over the black engine hook retaining ring.
I find it interesting how glue fillets are illustrated in the instructions. They don't mention smoothing out (and removing excess glue from) the fillets.

The BT-50 engine tube was marked at 1/2", 1" and 2 1/4" from the rear.
TIP: Use the black retaining ring to extend the pencil marks all the way around the tube.

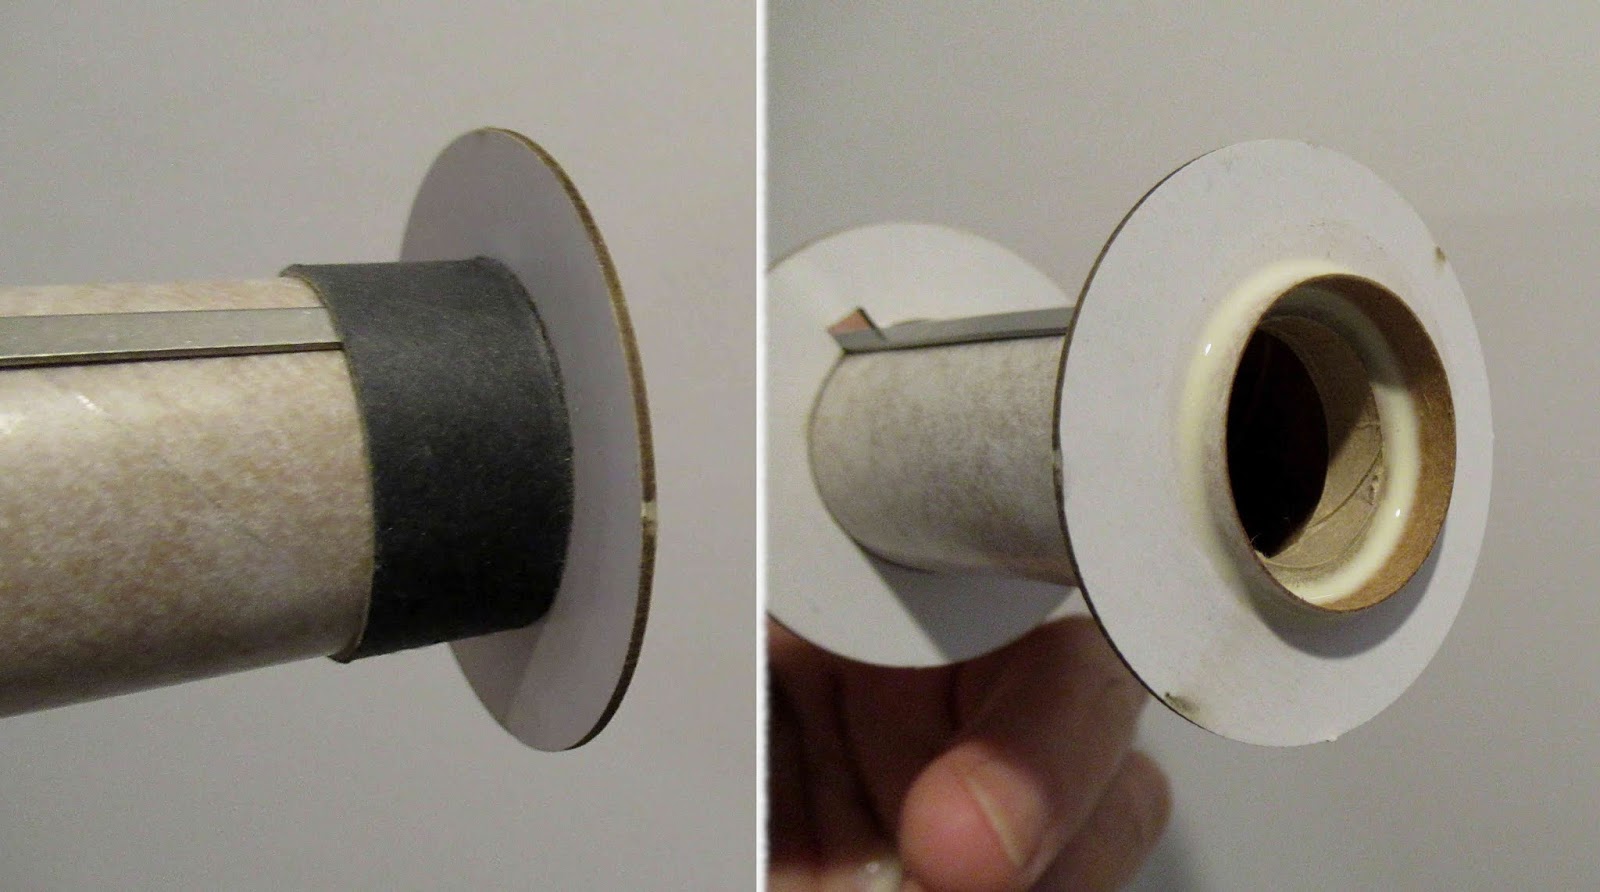
Set the black ring up to the back of the white centering ring. Apply a glue fillet on the other side and smooth out the glue with a fingertip.
Don't glue the black ring in place.
Let the fillet set, then slide the black ring away from the back of the centering ring.
Apply a glue fillet to the back of the centering ring.
Slide up to the white ring and check for straight contact all the way around.
Apply a fillet to the other side and let dry. Slide the black ring away from the ring and apply a glue fillet to the ring/tube joint on the back.
The engine block is simply slid in from the top dry. Apply a fillet around the top joint.
No comments:
Post a Comment