
I checked online but couldn't find a sharp version of the logo.
I ended up doing a font search and re-drawing it. This one did take some changes to the fort I found. The "T" and "I" took the most time.
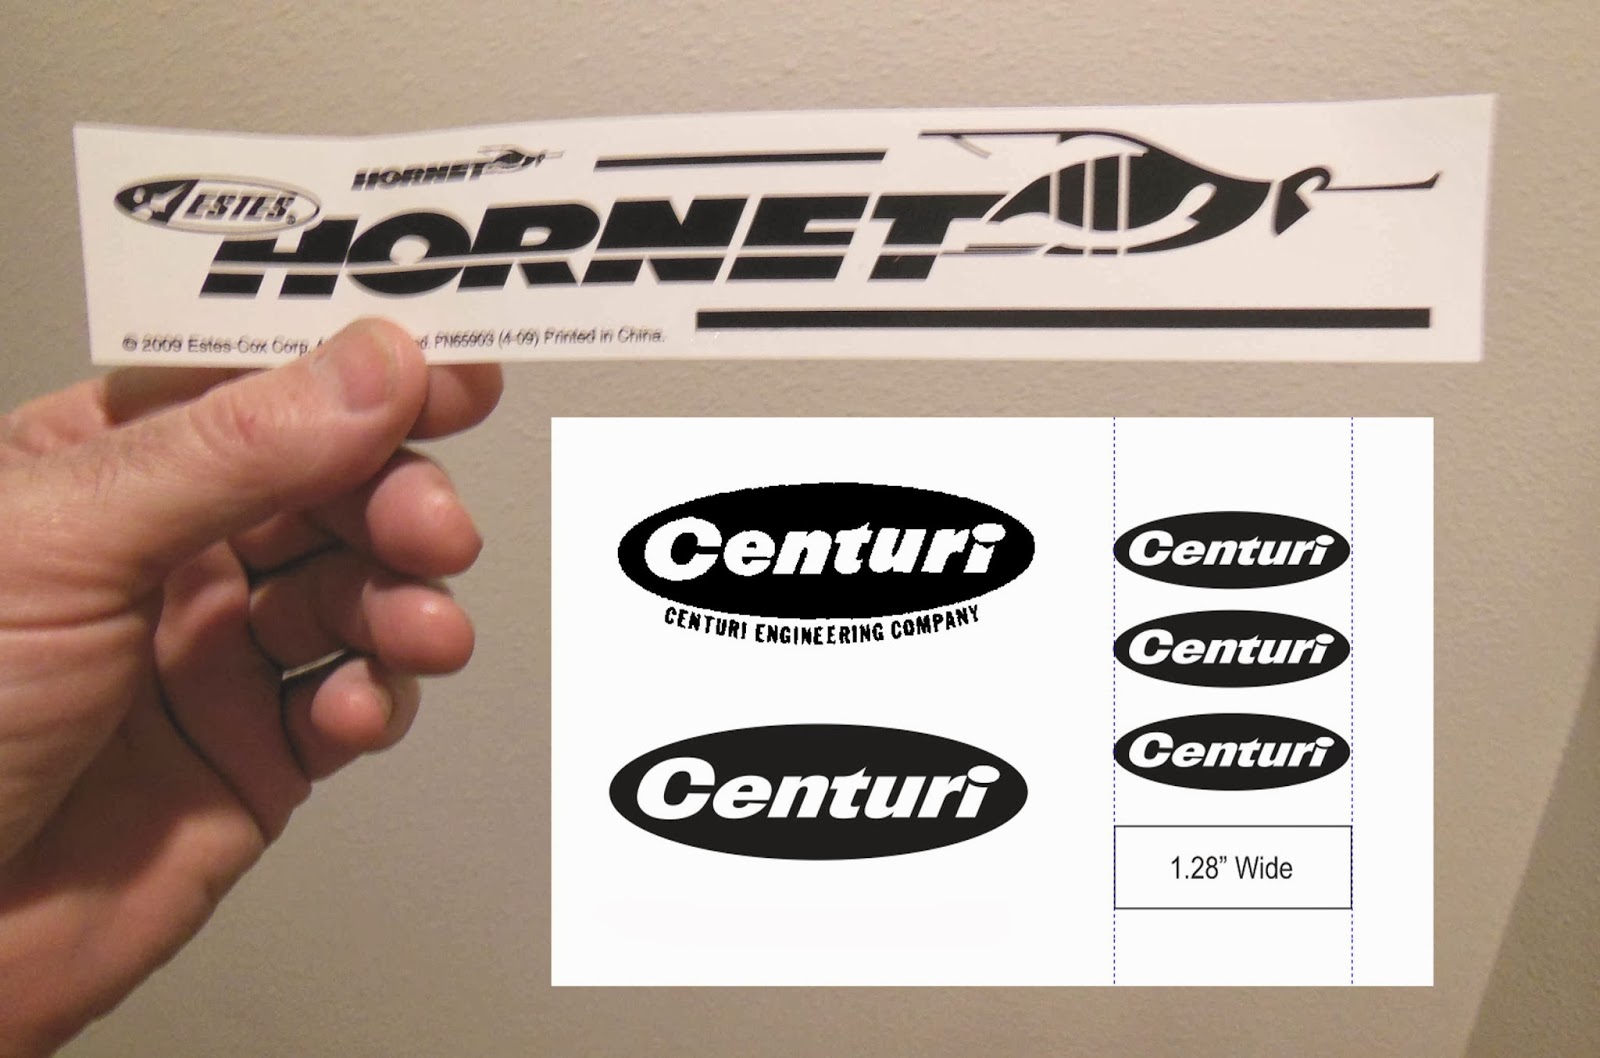
Enlarge the picture and compare the two larger Centuri logos. The upper one is what was found online. Below it is the redraw.
The Estes logo is about 1.28" wide. I sized the Centuri logo to that width.
The logo isn't 100% accurate, but it's close and much sharper than anything I could find.

Here I've sanded the primer and tube where the lug will glue for better adhesion.
The fin root edge areas were also sanded with 220 grit.

This was filled with CWF.
The dent was so shallow I wanted to be sure the CWF stayed on the tube.
After sanding to surface a thin coat of CA was wiped on.
I'm doing this build.
ReplyDeleteIf we fans e-mail you can you send us the Centuri image PDF? Or do you have a link that points to it?
Thanks.
Hi Scott,
DeleteI just looked and did some searches with no luck! I've lost a few files somewhere along the way. Sorry!
Hi Scott,
DeleteThere is this decal page:
http://oldrocketplans.com/decals.htm
Scroll down to the Centuri logos.