
I went ahead and primed the nacelle tubes, nose cones and tail cones.
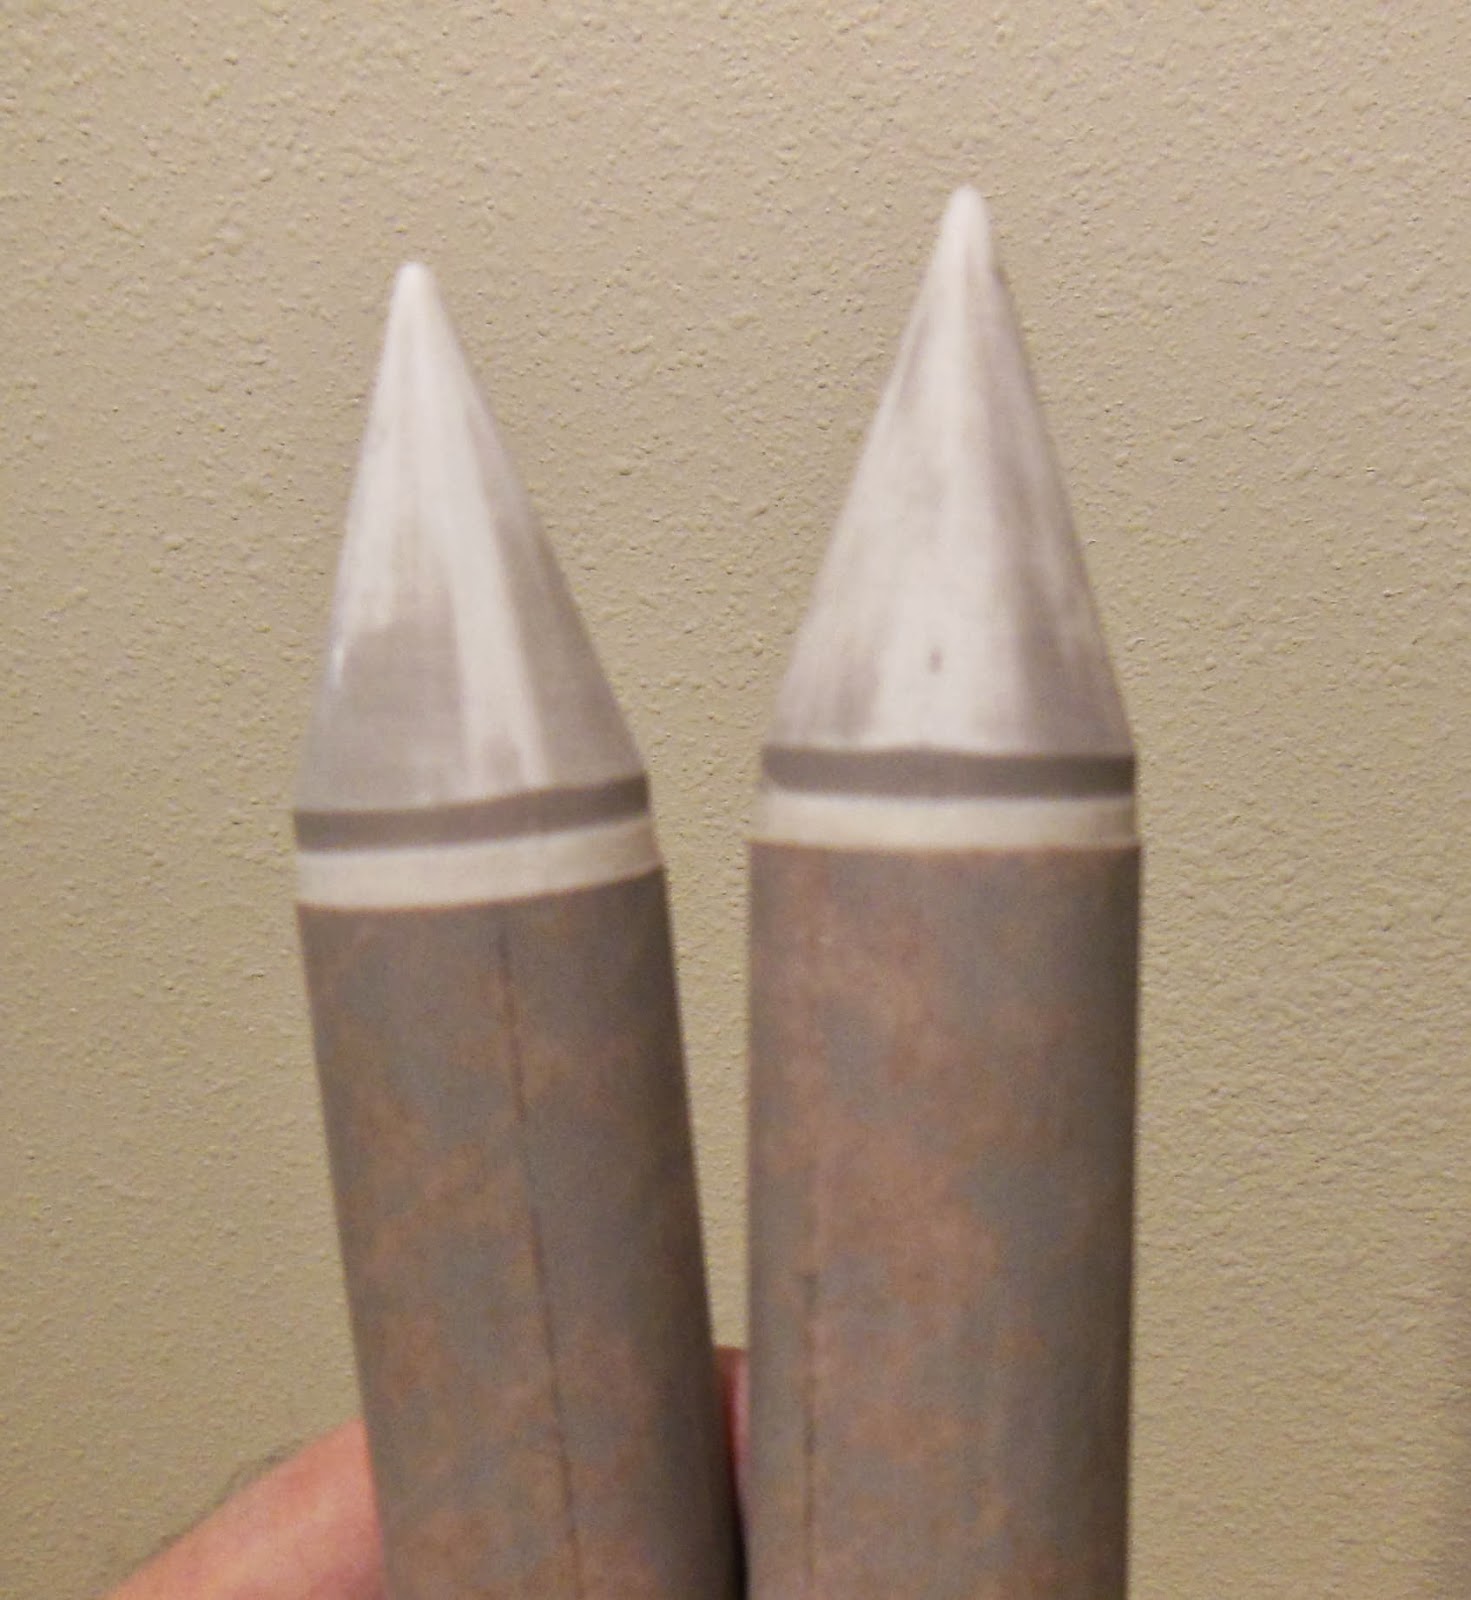
After sanding you can see some primer still left in the molding seam in the nose cones.

Even though I smoothed out the glue before setting down the shroud side it still made some long bumps.
On the right the raised lines were sanded down with 220 grit. I was trying to level the slight ridges. Luckily the card stock is very thick and there is little chance of sanding through it.

Some medium CA was wiped on with a Q-tip to harden up the raised fibers. Use a Q-tip to apply the CA, don't flood it on right out of the bottle. The Q-tip will brush on a thin smooth coat, not too much.
Hold the CA'd areas up to a bright light and sand with 400 grit, enough that it dulls any gloss areas of CA.

The padded file works better than a sanding block on a surface like this.
This is the forward area where the long tab was bent down and glued to the sides of the balsa edge.
No comments:
Post a Comment