

You don't get the three white lines on the left side of the wing or the short decal that rolls over half the body tube.
The circle decal by my thumb can't and doesn't go into the outside edge of the wing.
I've seen this too many times. Quest kits sometimes don't include the decals advertised shown on the face card.
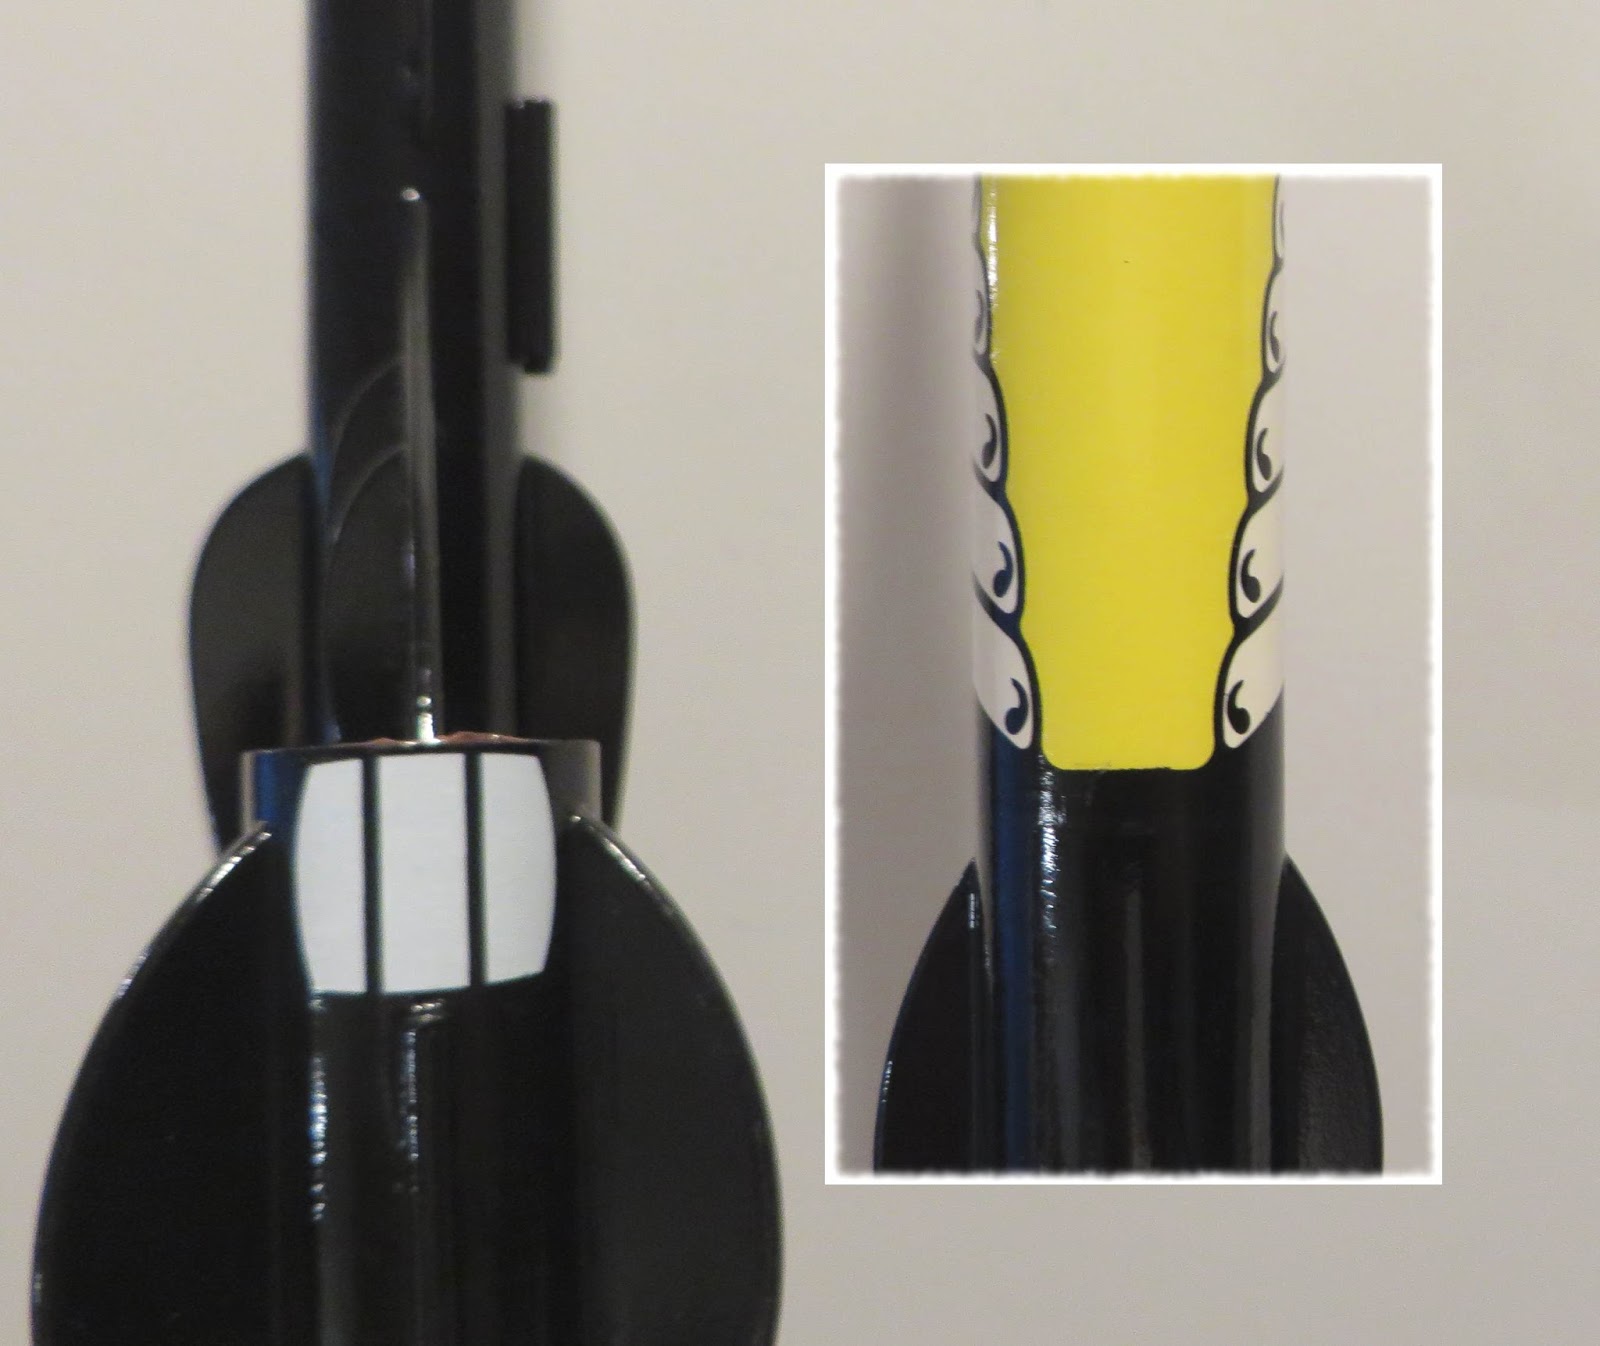
The clear border on the outside pod decals overhang the top of the tube. It's easily trimmed after it dries.
Here's how the underside of the big body wrap decal joined up. Try as I might the ends wouldn't quite line up. Close though!

The decal sheet had some creases in it. The crack broke up one the white lines that go across the wing. I should be able to touch this up and join the line.

I couldn't tell if the decal had white ink on it or not. (That's why some decals are printed on light blue paper.)
If the decal had white (I could tell after soaking) it would go on the wing. The large one on the bottom, the smaller one on the top of the wing.
Luckily there was white ink along with the black. It worked well on the left side of the wings where the stripes were missing.
Hrm... Hadn't taken too close of a look at the decal sheet on the reissue (I've heard from some folks there are some differences). As for decal placement, the facecard and instructions from the original release might be helpful (have noticed that the images you show for the facecard and instructions don't match those found on original release).
ReplyDeletehttp://www.spacemodeling.org/JimZ/est1281.htm
Perhaps a bit confusing is that the copy of the instructions you can download from the Estes website are scans of the original release version (rather than the copy you get with the reissue).
ReplyDelete