

The cut tube bottom edges were smoothed by wiping some medium CA and sanding with 400 grit.
Note I wrote "edges" of the tube.
TIP: Don't apply CA glue to any area that will get wood glue later. CA glue will seal the tube and wood glue won't stick to it.
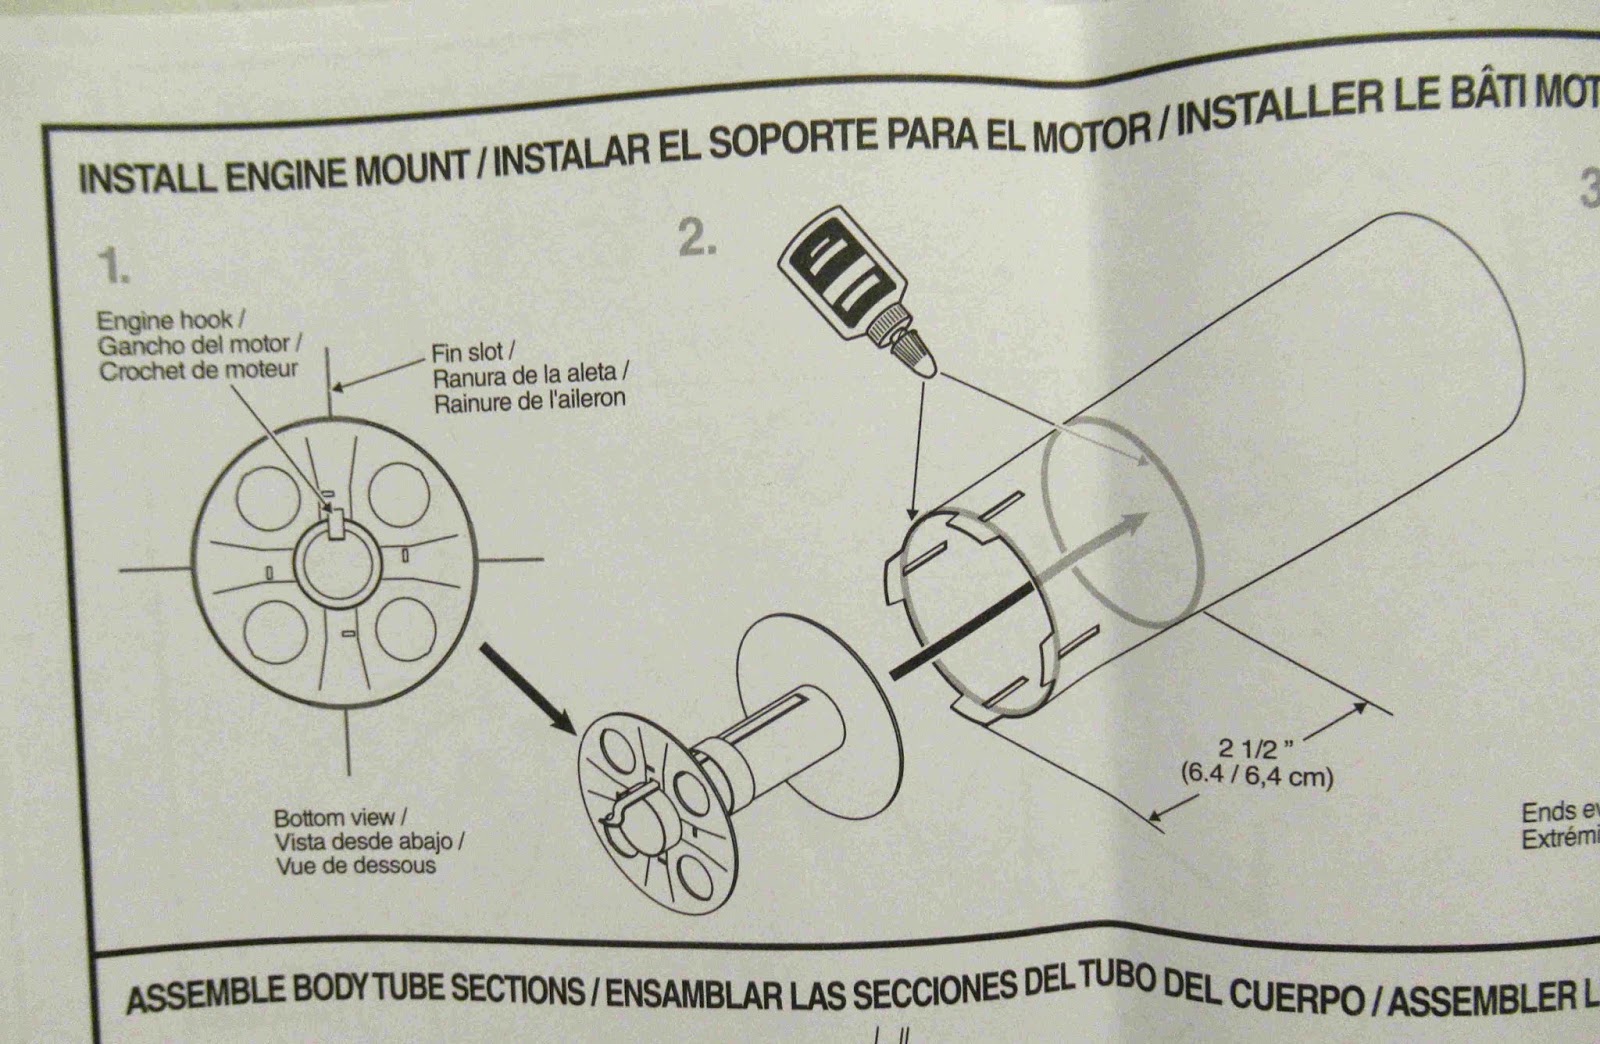
In the instructions you are directed to apply two rings of glue in the tube and slide the engine mount in place. After the front ring is slid in it pushes both lines of glue forward. There will be very little glue at the back joint.
You can lay down the forward glue bead then slide in the mount partway, not yet in the bead of glue. Apply the second lower bead working around the lower end of the mount. Then slide the mount in all the way so the front and rear rings contact both lines of glue.

TIP: I slide the engine mount in dry then apply a interior top fillet using a Q-tip taped to a dowel. The Q-tip keeps the amount of glue under control. Too much glue can shrink the tube at the upper centering ring and leave a visible recessed ring.
With the rear ring flush with the end of the tube, the back end got glue fillets on the outside joints, shown below.

NOTE: The motor housing lines must be centered around the TTW fin locations. The larger nozzles will centered between the fins.
I wish I had followed along in your blog more closely. I ended up with a recessed ring around the main body tube. This isn't meant as a museum piece but maybe I'll get it right on the next one. Your blog is incredibly helpful and rich with great information. Thanks!
ReplyDelete