

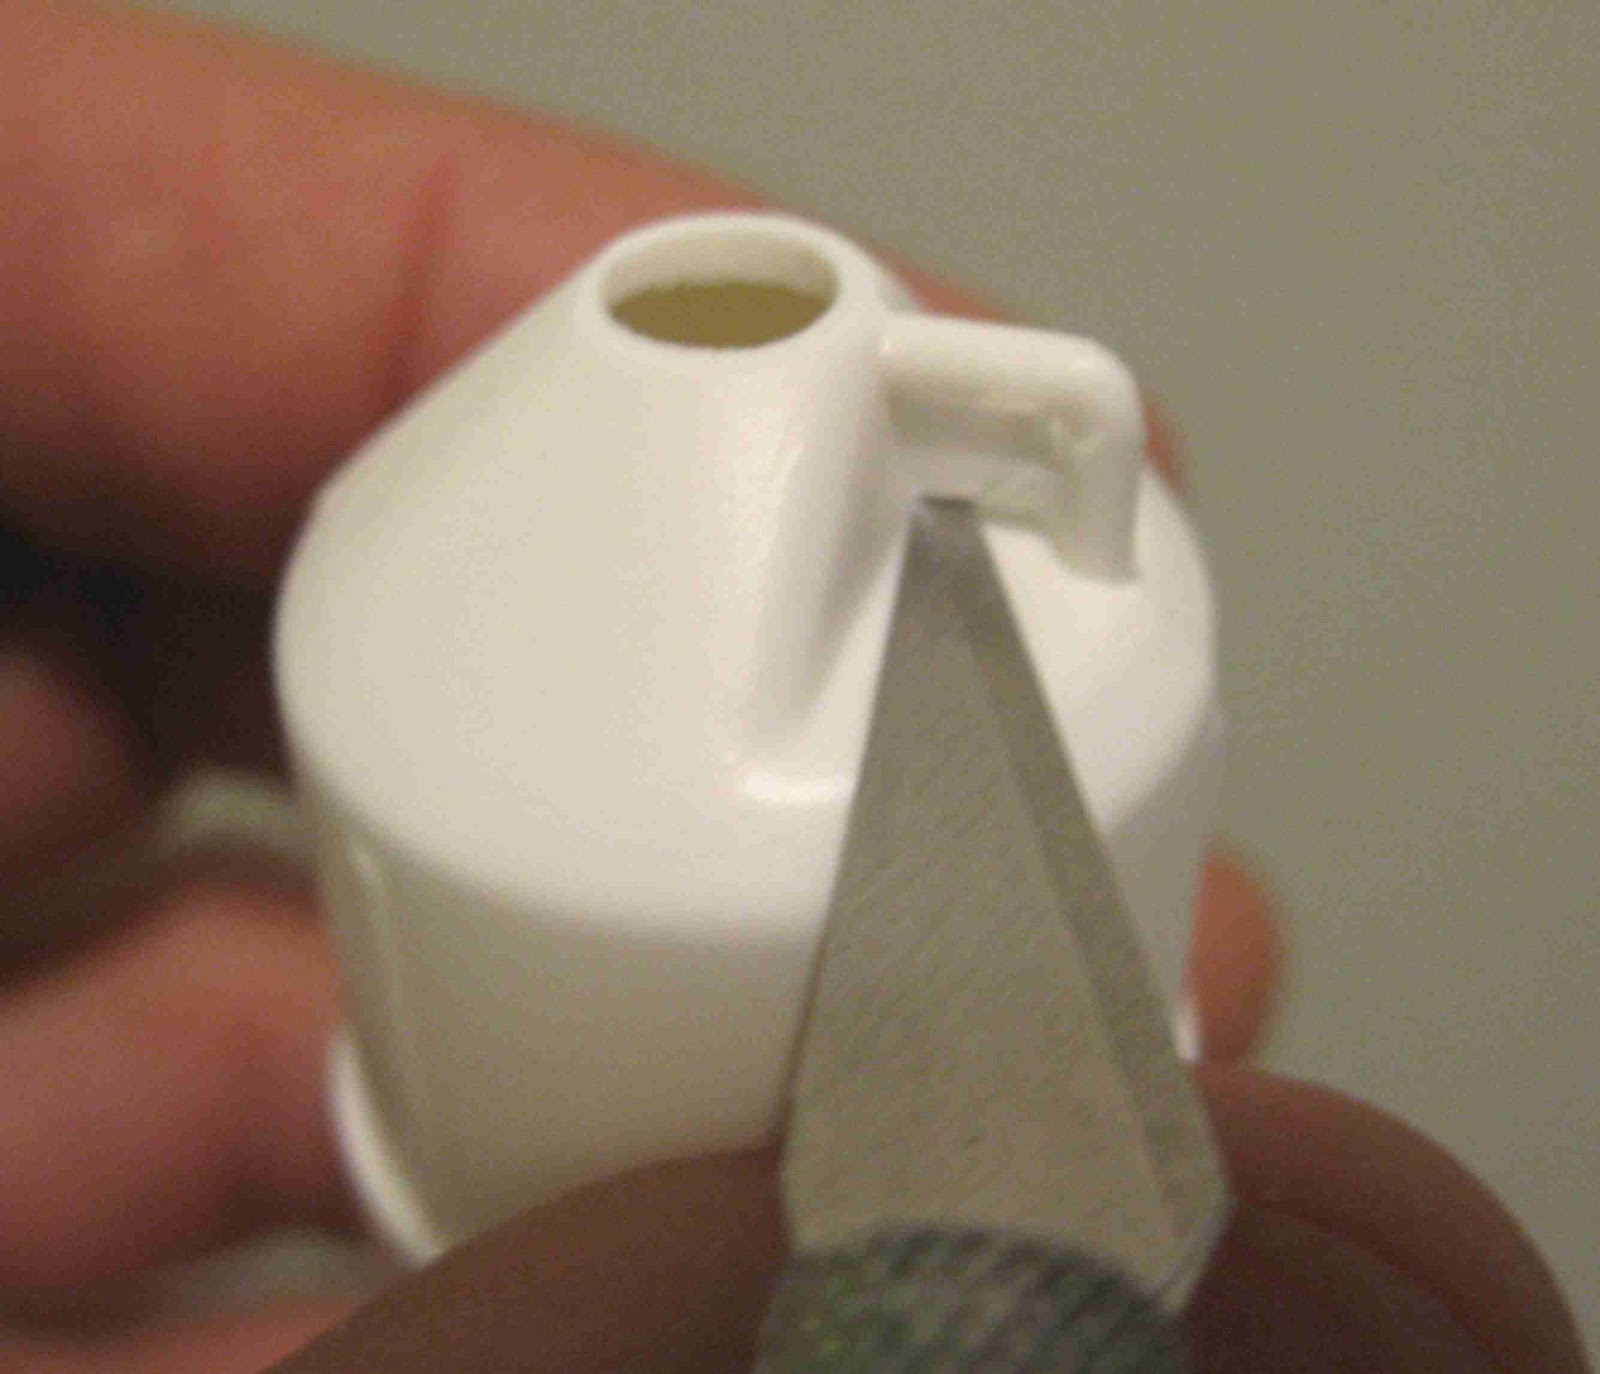
As with most nose cones, you have to clear the eye of the nose cone.
Notice the direction of the X-Acto blade. The sharp side is facing away from the post.
Using just the tip, punch a small hole and cut away from the "L" shaped post.
Cut halfway along the thin plastic flash.
Reverse the blade and cut toward the cut you just made, finishing the cut line in two halves.
This protects the "leg" of the plastic eyelet.
If you tried to cut it all the way across you could cut into the leg post.

This clay snake weighed .25 oz. That seems typical for a "pat" of clay supplied with the Estes kits.
The instructions say to use a small phillips screwdriver to pack to clay in the nose cone tip. I used a squared off dowel end.
No comments:
Post a Comment