
Onto the forward centering ring -
I'll be using some 150 lb. Kevlar in addition to a longer replacement shock cord.
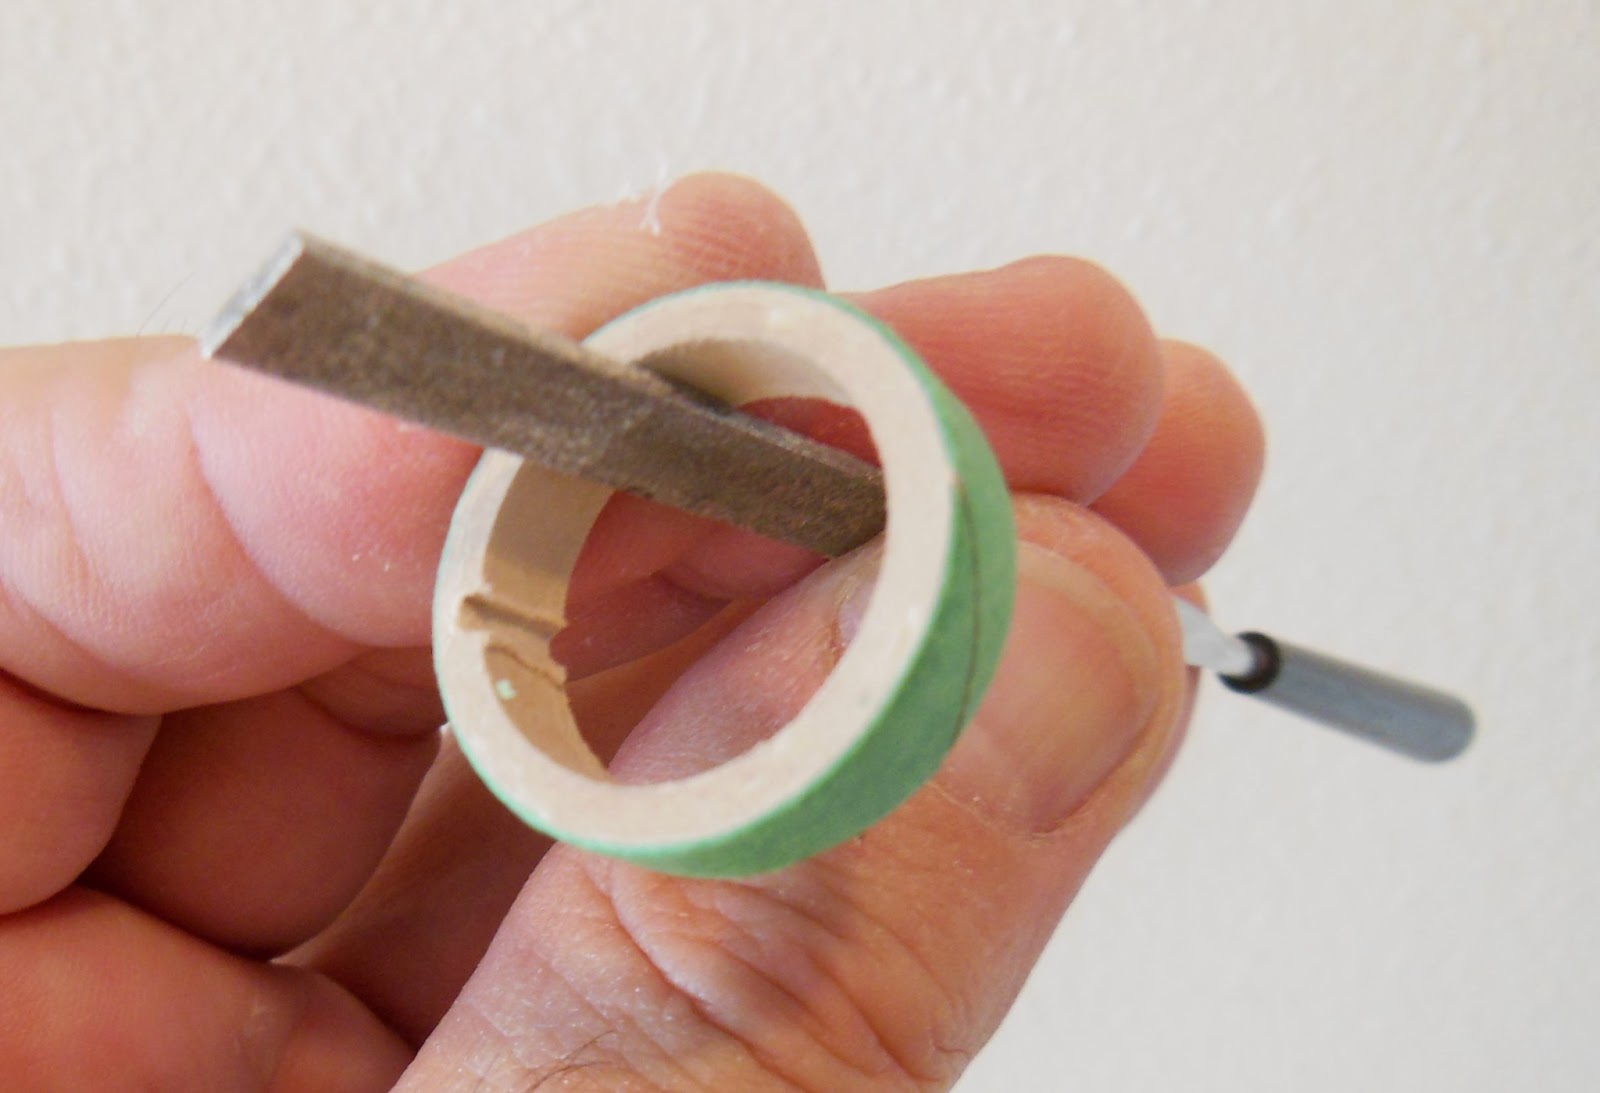
The forward centering ring was notched with the side of a small rectangular file. The Kevlar will loop through this notch.

A slight notch was cut into the low end of the upper ring, directly opposite the Kevlar notch.
The inset shows a wire used to keep the Kevlar notch clear of any glue.

The Kevlar tail was wrapped three times around.
To glue it in place, pull the wrap tight then slide the Kevlar away from the forward ring.
Apply a glue fillet around the forward ring joint and let it set up for a few minutes.
When the glue is partially dry, slide the Kevlar wrap into the glue ring.

After the fillets dry, trim off the excess Kevlar tail.
Here's the finished, upgraded engine mount ready for installation.
No comments:
Post a Comment