

Slide the decal off the backing about 3/8" of an inch at a time and smooth out the bubbles and water with a damp Q-tip.
Check to be sure the black box sides are in line with the vertical corrugations. Set a ruler down the corrugations and over the sides of the black squares.

I set that line of "dots" (rivets, screws, whatever) about 1/8" from the top of the corrugated wrap.
Again the picture shows the decal segment set down slowly keeping the backing paper on while the transferred part is smoothed out. When the bubbles and wrinkles have been removed slide the backing another 3/8" over and smooth again.
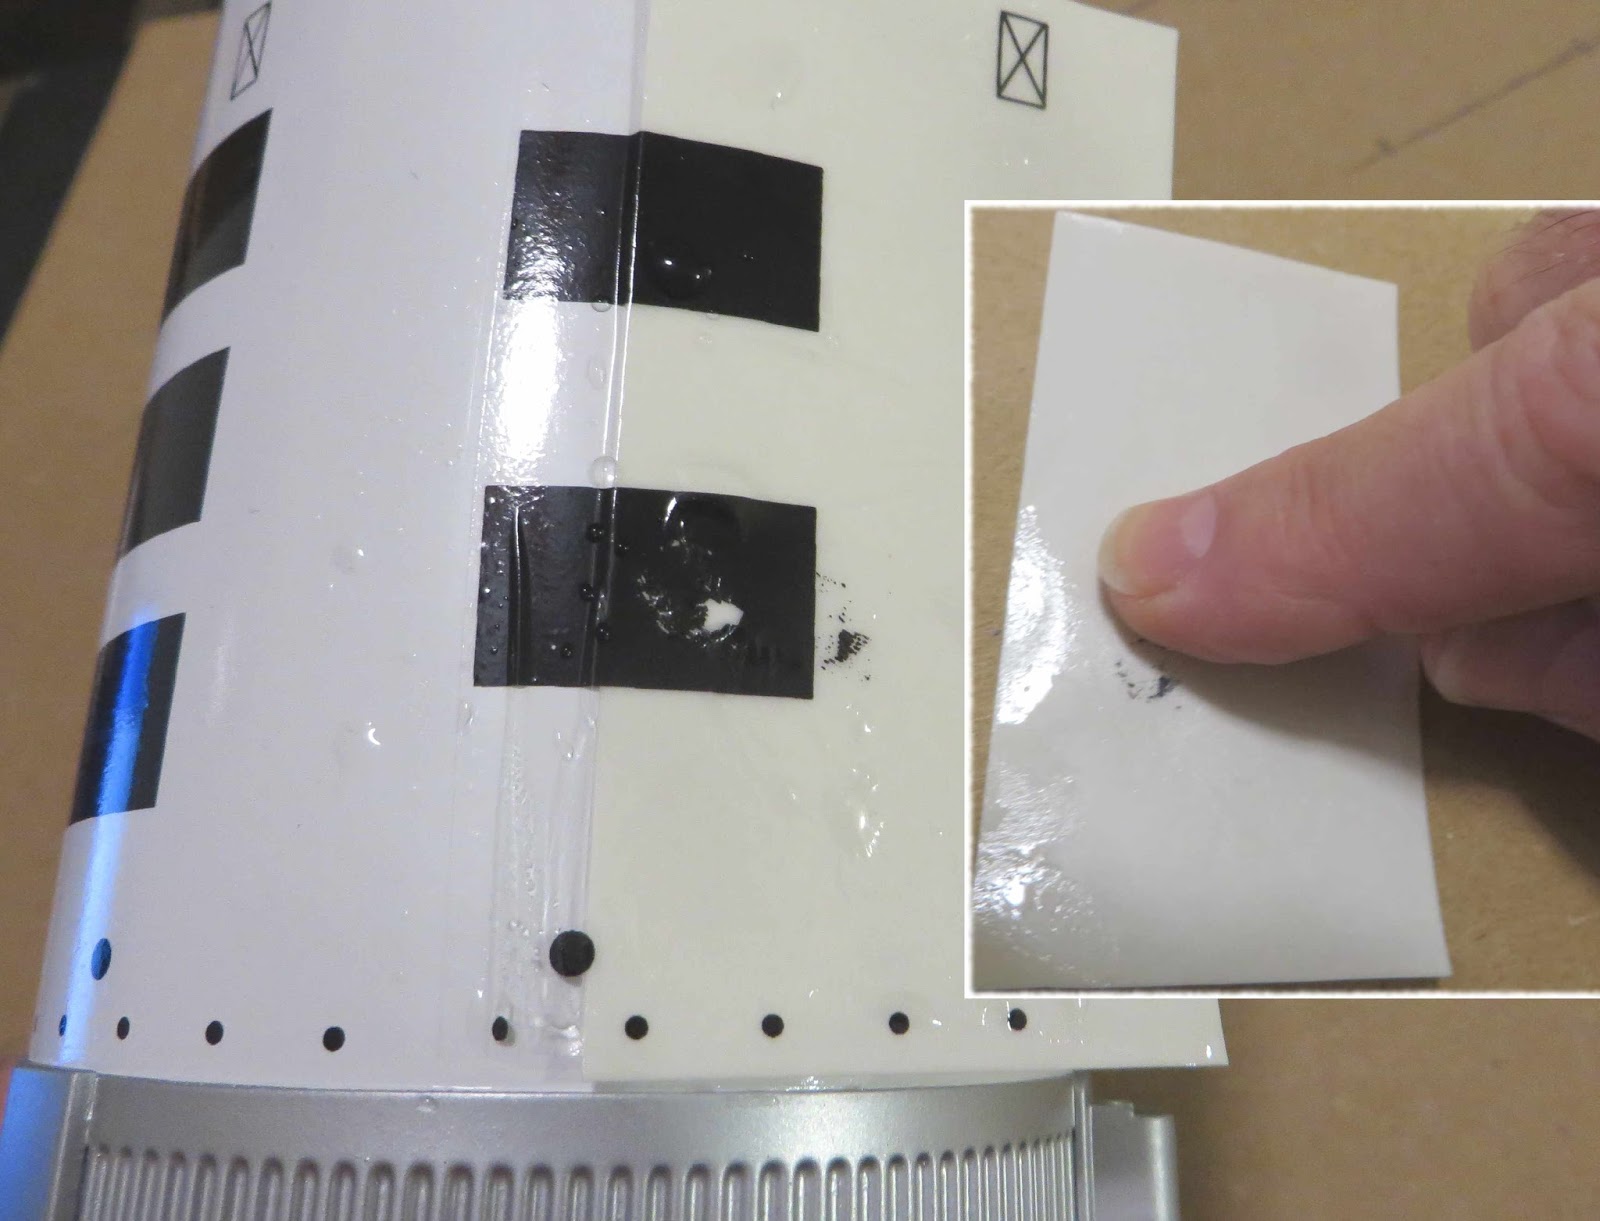
One segment of the decal wouldn't come off the backing paper leaving a hole in the middle of a block.
The inset shows me trying to rub and slide the remaining black smudge. It wouldn't move.

Positioning the body wrap decal was a bit stressful but can be done. After you've set the decals on the command module cover decide for yourself if you'll need an additional clear coat to thicken up the big wrap decal for easier transfer.
Here I filled in the decal break "hole" with a Sharpie. (Where would I be without Sharpie pens?) It's not perfect but a pretty good patch. I still might put a actual black decal piece over this ink cover.
No comments:
Post a Comment