
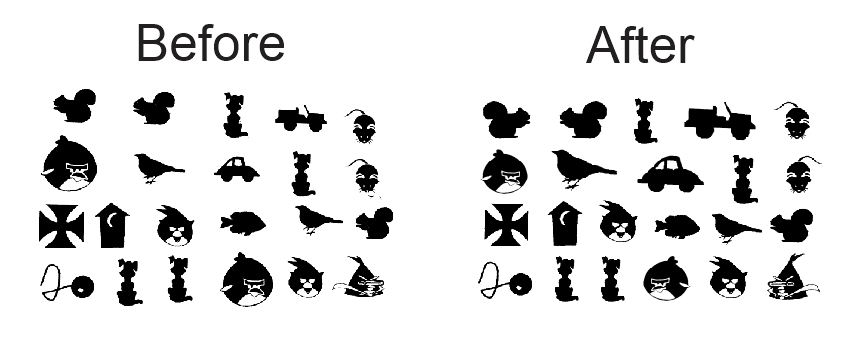
I played around with the "bugs" and came up with the art on the right side. Some bugs were resized, some flipped.
I also played with some of the fin decal sizes to get them closer to the scale of the larger Red Max model.
More decal information: Why are some decals printed on white back paper and others on blue backed paper? Both colored papers work the same when soaking and transferring onto the model. On a blue backed decal paper you can actually see a white ink decal.

The upper part of the picture is the white backed decal sheet in normal room light.
The inset picture shows the white invisible decals are revealed when held close to a light bulb.
TIP: Before cutting up a white backed decal sheet, always do a light bulb scan. It's too easy to cut and ruin a usable white decal.
No comments:
Post a Comment