
The thick ring didn't have flat sides. Considering it sits flat against the washer weights I sanded the raised rings even and smooth.
The cut of the engine mount tube wasn't clean. This was also evened out with the sanding block.
I don't like to force centering rings over body tube ends. These rings had some raised crimps on the inside and wouldn't easily fit over the internal BT-20.
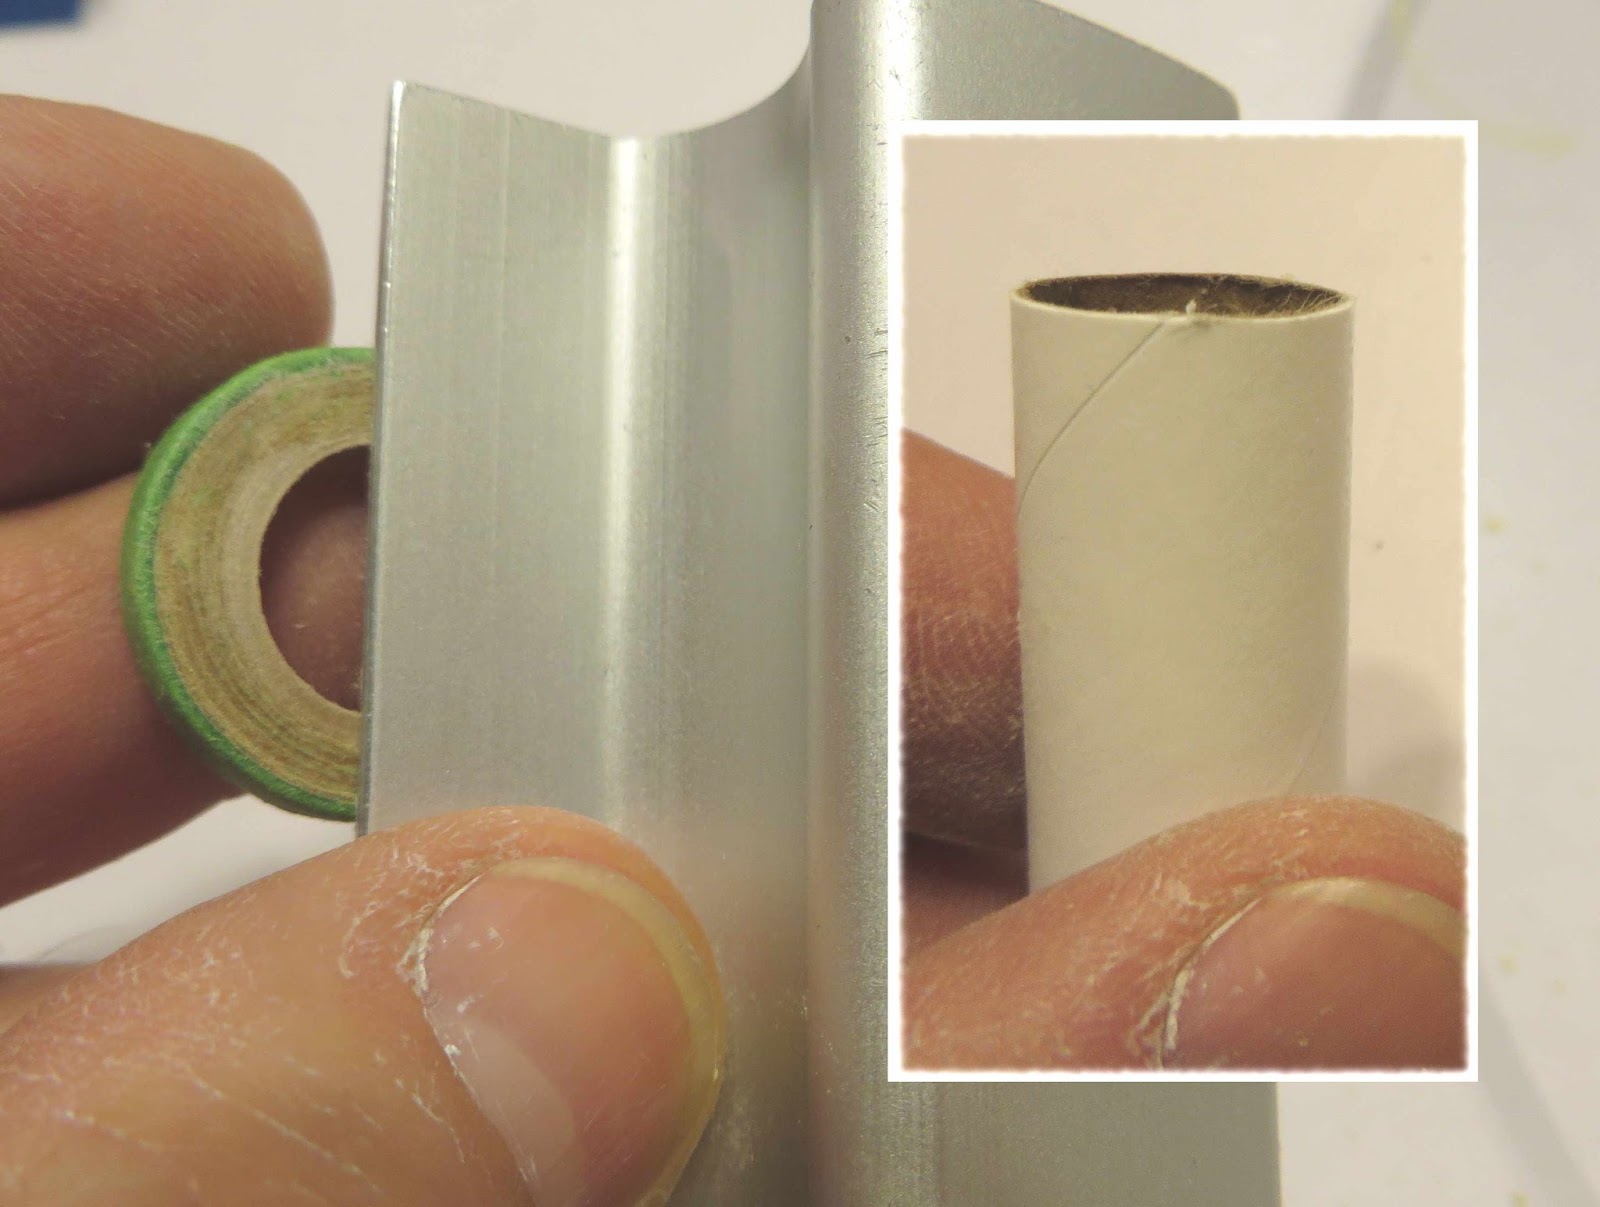
First, the end of my X-Acto handle was rolled over the inside to press the crimps down. The ring still wouldn't fit over the tube.

If you have to do this, try to lift as little of the paper as you can. It's easy to remove too much.
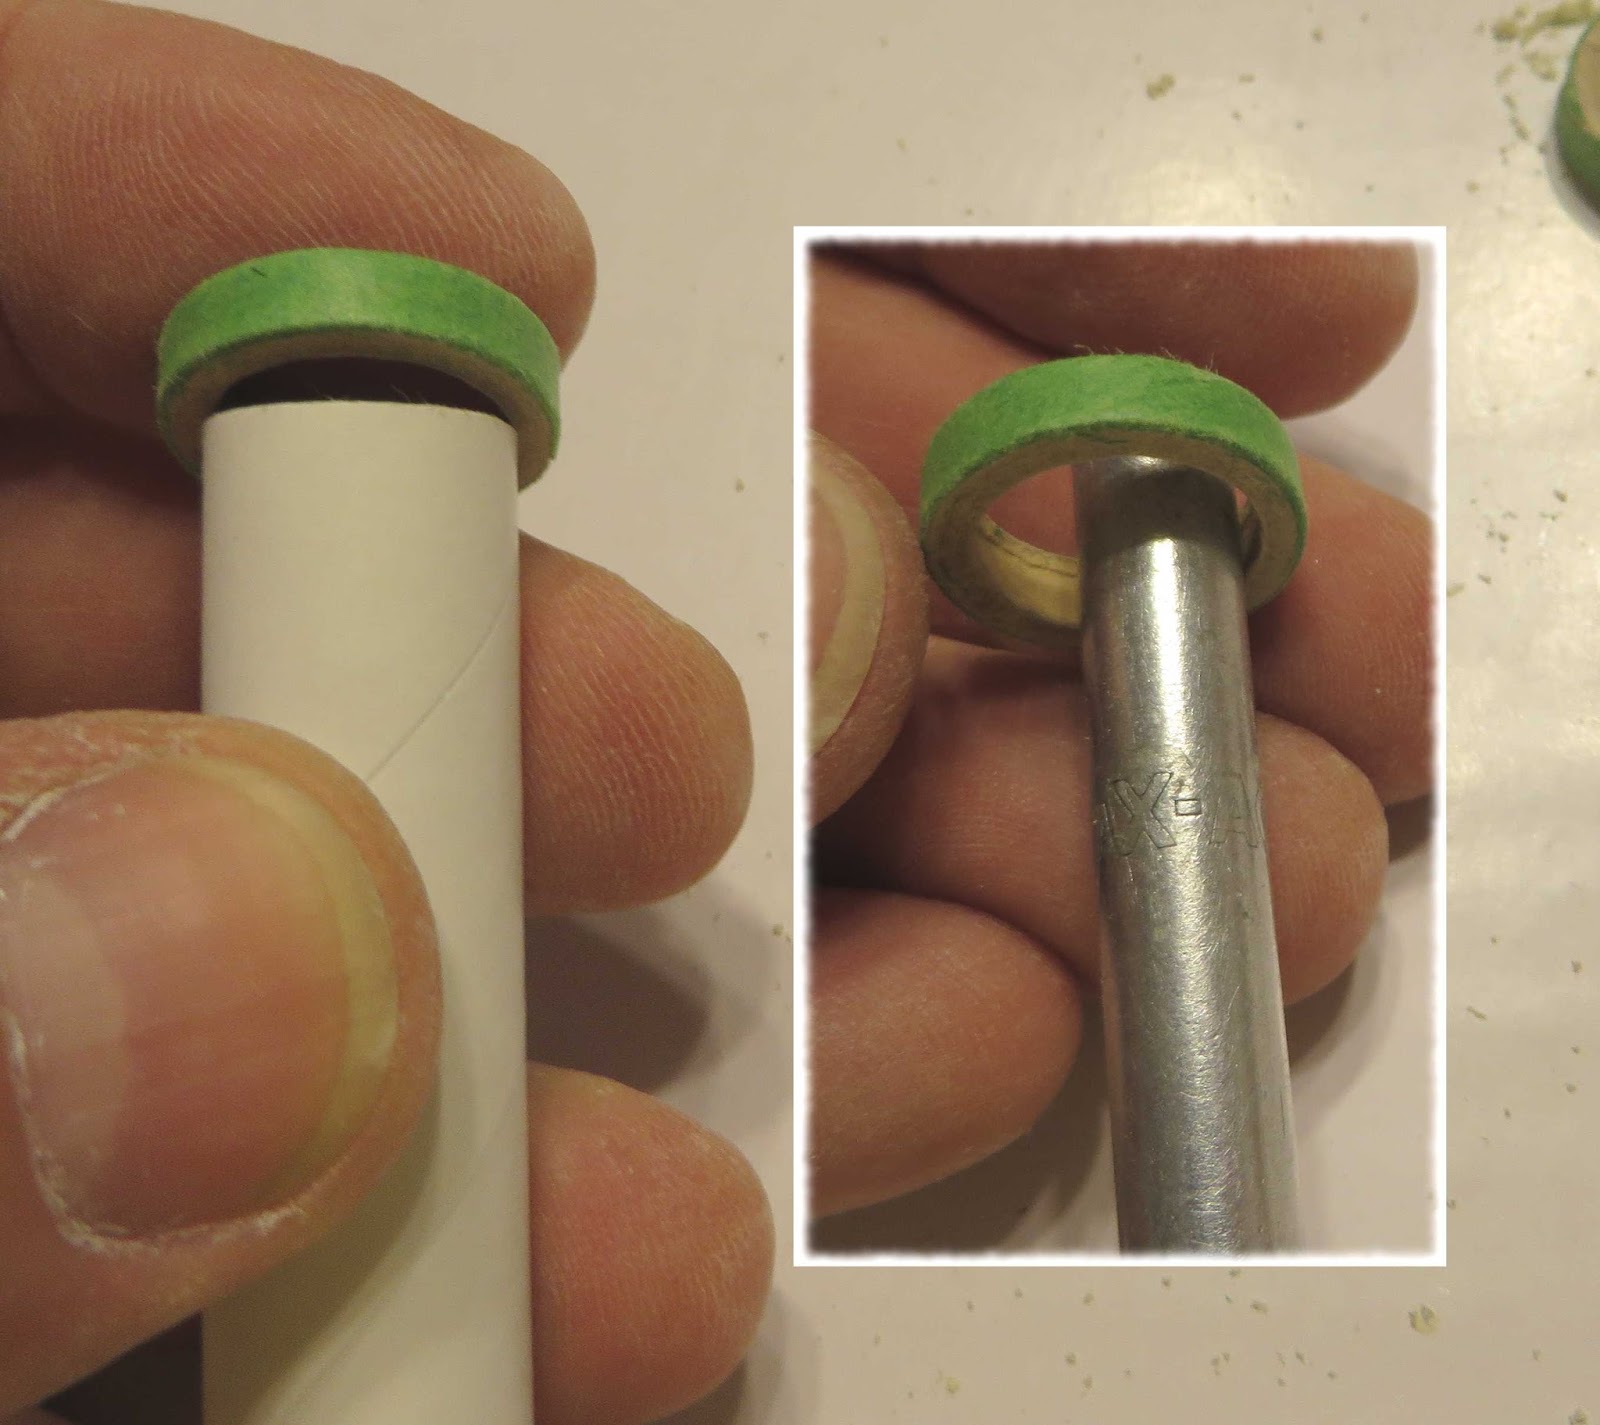
One ring fit well, the other ended up too loose. The inset picture shows the ring of glue on the inside to build up the diameter. Let the glue fully dry before thinking about gluing it in place.
I remember reading in the instructions of a kit I was building (don't remember which one) that if the centering rings are too tight to push them down on a plastic nose cone and rotate. It worked, stretched them enough to slide over the engine tube. Of course, don't even think of trying this with a balsa nose cone.
ReplyDeleteHi Bar,
DeleteGood point about not widening them over a balsa cone. You were probably building a Quest kit, that's the first place I remember seeing that tip.