
 I emailed Aerospace Specialty Products and told them about the problem I had with the Micro Jayhawk kit decals.
When I built the kit the decals dissolved when they were placed in water to soak. I assumed they weren't sprayed with a clear coat after printing.
The complete micro Jayhawk build thread is HERE.
 After an email, I quickly received two new sets of decals in the mail.
These decals are tiny! As directed in the instructions, let them soak one at a time.
TIP: I've learned over the years to use less water in the soaking bowl. It's easier to get them out of the bowl if the water level isn't too high.
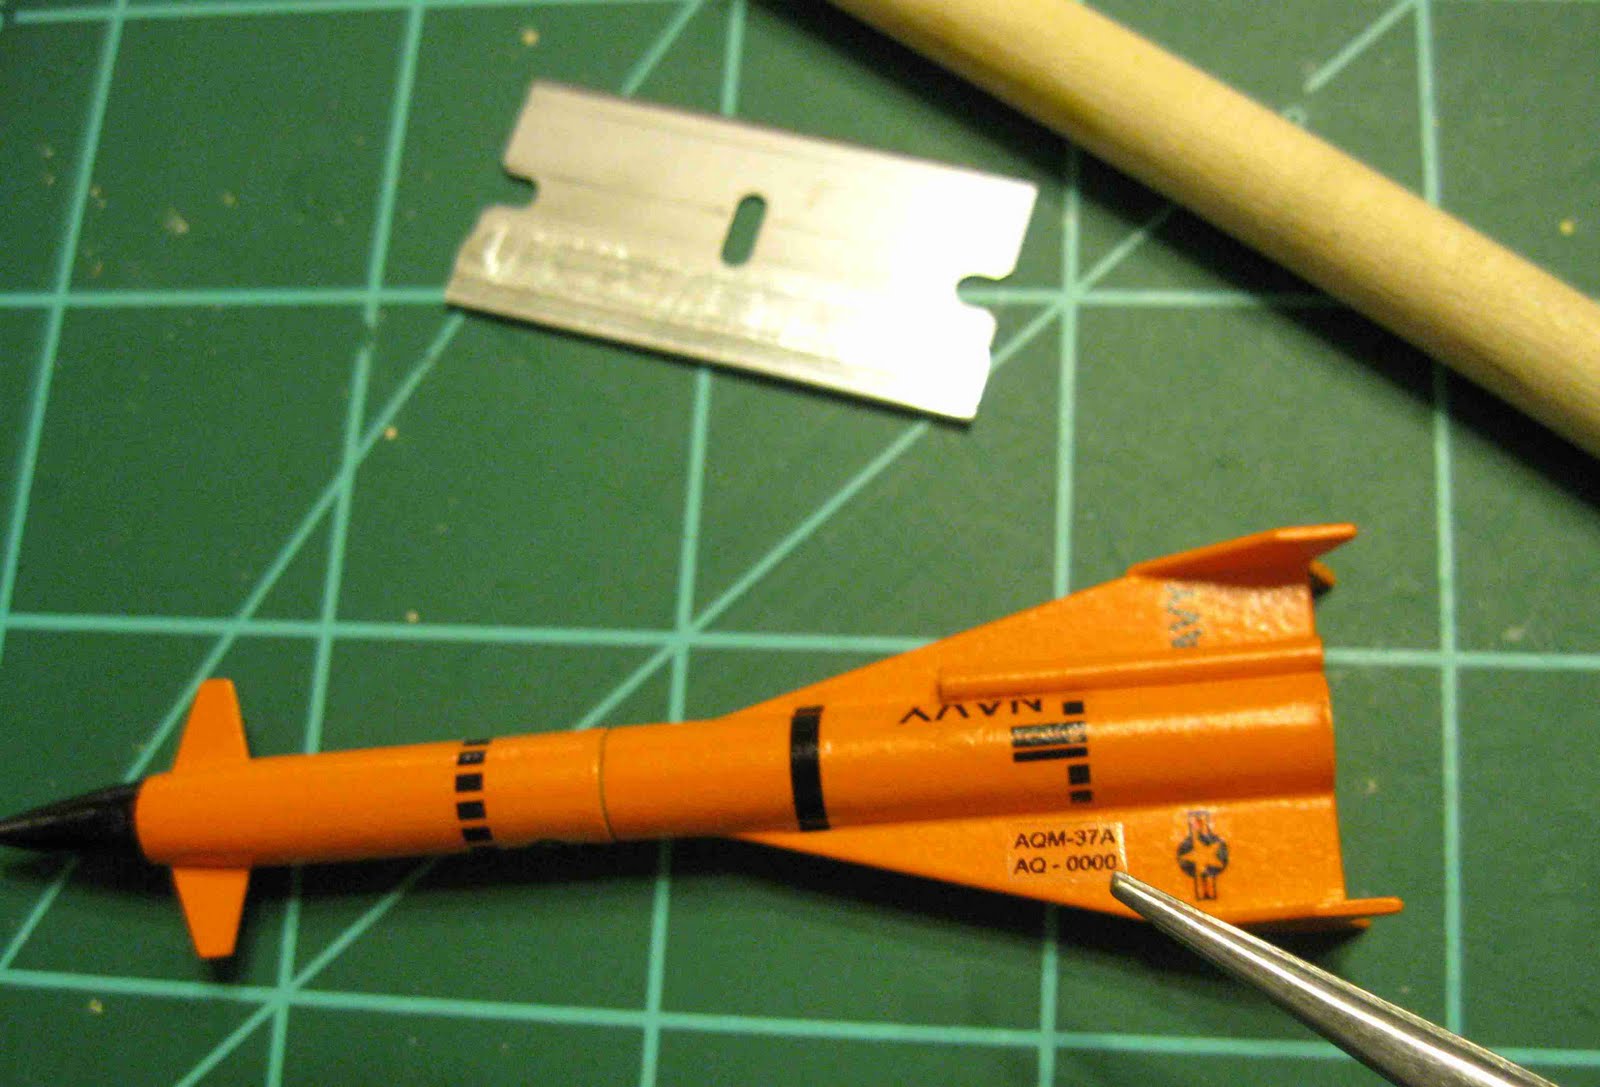 The new decals went on without too much trouble. Because of their small size, it was easier to place them with tweezers.
While the decals weren't hard to place, I realize now why the instructions told you to offset the launch lug away from the root edge of the fin. The rear "bars" body wrap hits the lug the way I glued it. I trimmed the decal wraps to fit.
 The decal edges were cut close but they didn't stay down where they touched the fin joint.
Pledge (with Future finish) acrylic floor finish was set on the lifted edges with a toothpick. It flowed under the lifted edge of the decal and held it down.
 The decals certainly made a difference on the model!
I've already flown the Micro Jayhawk twice without the decals.
It's fast off the pad and very stable.
Keep your eyes on this one, it could be easily lost in tall grass.
Thanks to ASP for their quick response!
Wow - that's really nice, detailed little bird with the decals on!
ReplyDelete