
The mask ridge was lightly sanded down and more masking and a spray of black followed.

I had already re-drawn the decals from the JimZ site. I wish the decals had a ruler set next to them or just a 1" measure on the scan.
As it turns out, I drew the decal a hair too large.
Not worth re-sizing, no one will know the difference.
A while back I sprayed gloss white on decal sheet. I've used this for a undercoat before.
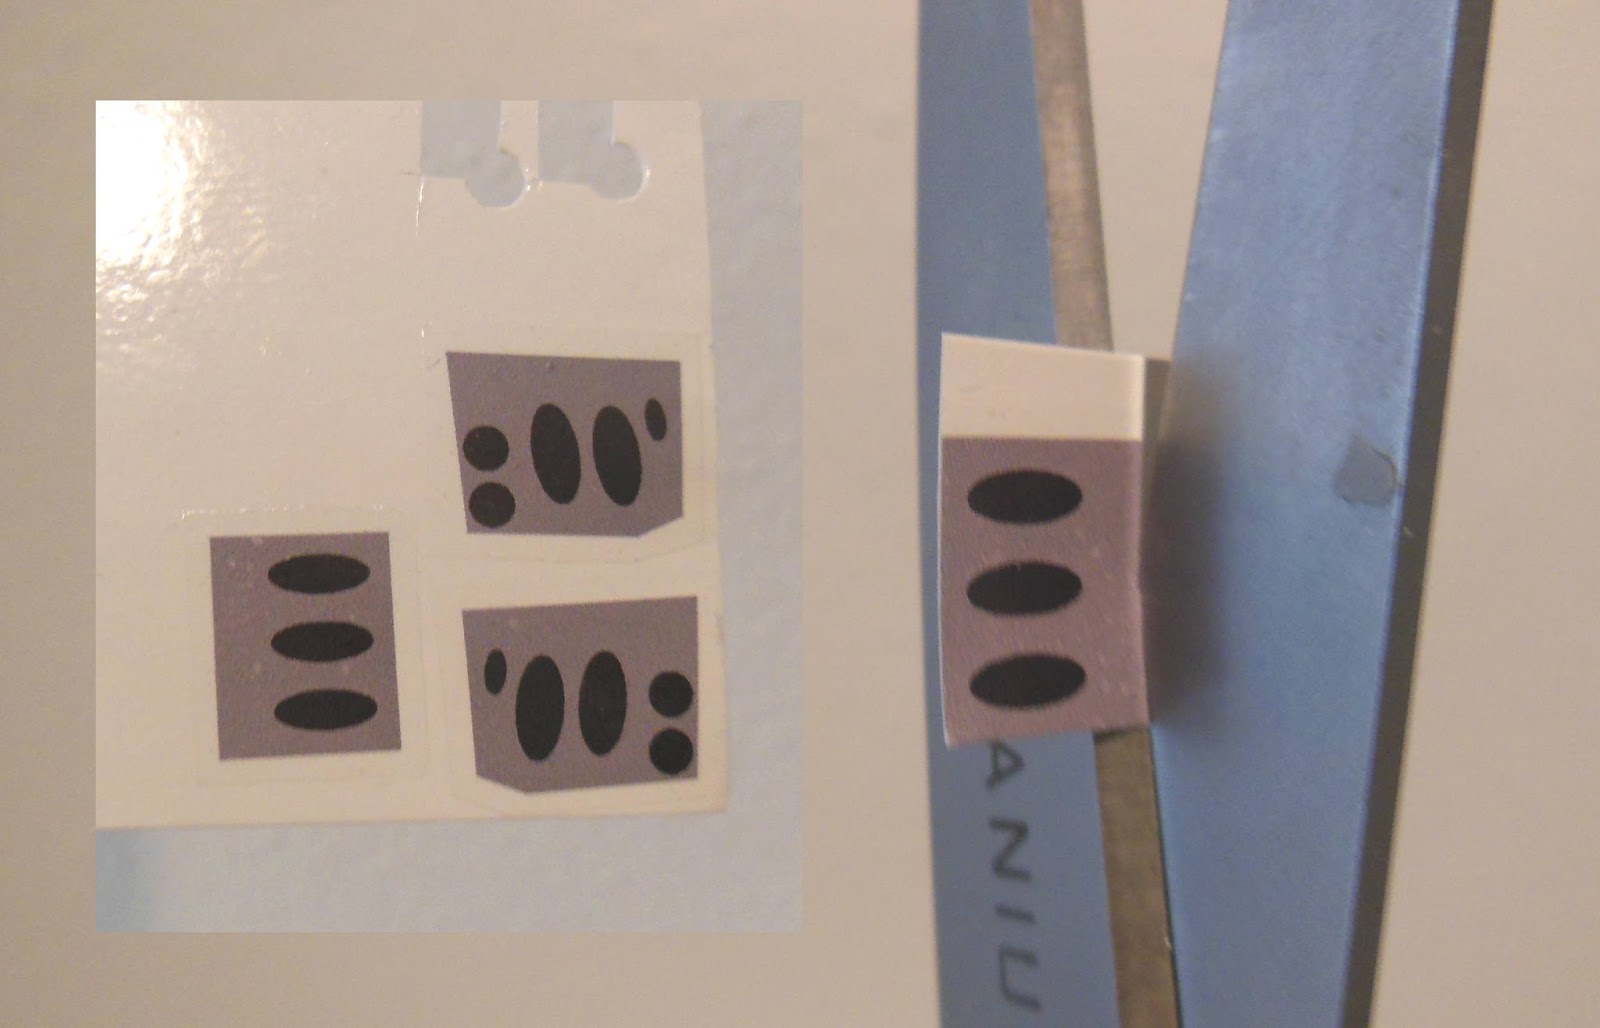
The decals were water transferred right on to a corner of the sprayed white decal sheet.
After it dried, the decal was simply cut out right on the gray border through both decal layers and the white sheet backing.
Soak the double layered decal. The gray decals stayed on the white decal sheet through the soaking and transfer.
 On the left is the first try over the black nose. You can see where the gray ink decal disappears over the black paint.
On the right is the nose decal with the white under layer.
It's a big difference and worth the extra effort.
Some decals go right up to the surface edges. I'll use a little Future acrylic to "glue" down any raising corners.
No comments:
Post a Comment